Wood Stove and Chimney Maintenance
Keep your wood stove burning safely by cleaning and maintaining your chimney yourself. Step-by-step DIY guide with photos and safety tips.
The biggest part of owning a wood stove is maintenance, and the biggest and most crucial part of that maintenance is cleaning the chimney. Creosote will build inside of it and eventually cause a chimney fire if not removed. But with a little know-how and effort, you can clean your own chimney and save quite a bit of money in the process. A nylon brush (if you have a metal chimney) and a set of rods will last a very long time and will pay for themselves with the money you save not having to pay to have the chimney cleaned.
I installed my own wood stove about 14 years ago. The decision was made after our heat pump went out during the coldest week of the year. Two weeks later we had a new heat pump and then the blower motor in our furnace decided to quit. I had to order the blower motor and wait a week for it to arrive. Another week of living in a house with no heat. Never again - the wood stove was purchased and I went to work planning clearances, a hearth, chimney, etc.
Here is my quick primer on how I sweep my chimney. I am not a professional chimney sweep; this is the method I have used for the past 14 years with good results. If you are unsure what condition your stove and chimney are in it is recommended you contact a chimney and fireplace specialist to have an inspection done.
Tools and Materials:
- Nylon chimney brush (sized for your flue)
- Fiberglass extension rods (enough sections to equal the length of your chimney)
- Ladder (tall enough to reach your roof safely)
- Work gloves
- Screwdriver or wrench (to remove air tubes and fire board)
- Shop vacuum
- Bucket and ash shovel for creosote disposal
 Fireboard and Air Tubes
The first step is removing the fire board and air tubes from my particular stove, an Englander 13-NC. I only remove the first two air tubes and it gives me plenty of room to slide the fire board out. Notice that some creosote has already fallen down the chimney since the previous winter. Move carefully and it won’t spill out all over your floor. The fire board must be removed prior to sweeping to make room for the brush to enter the firebox from the chimney. The fire board will last several seasons but is quite brittle and the brush impacted it will surely break it. Close and latch the door before sweeping the chimney to keep creosote and soot contained inside the wood stove.
 The Chimney
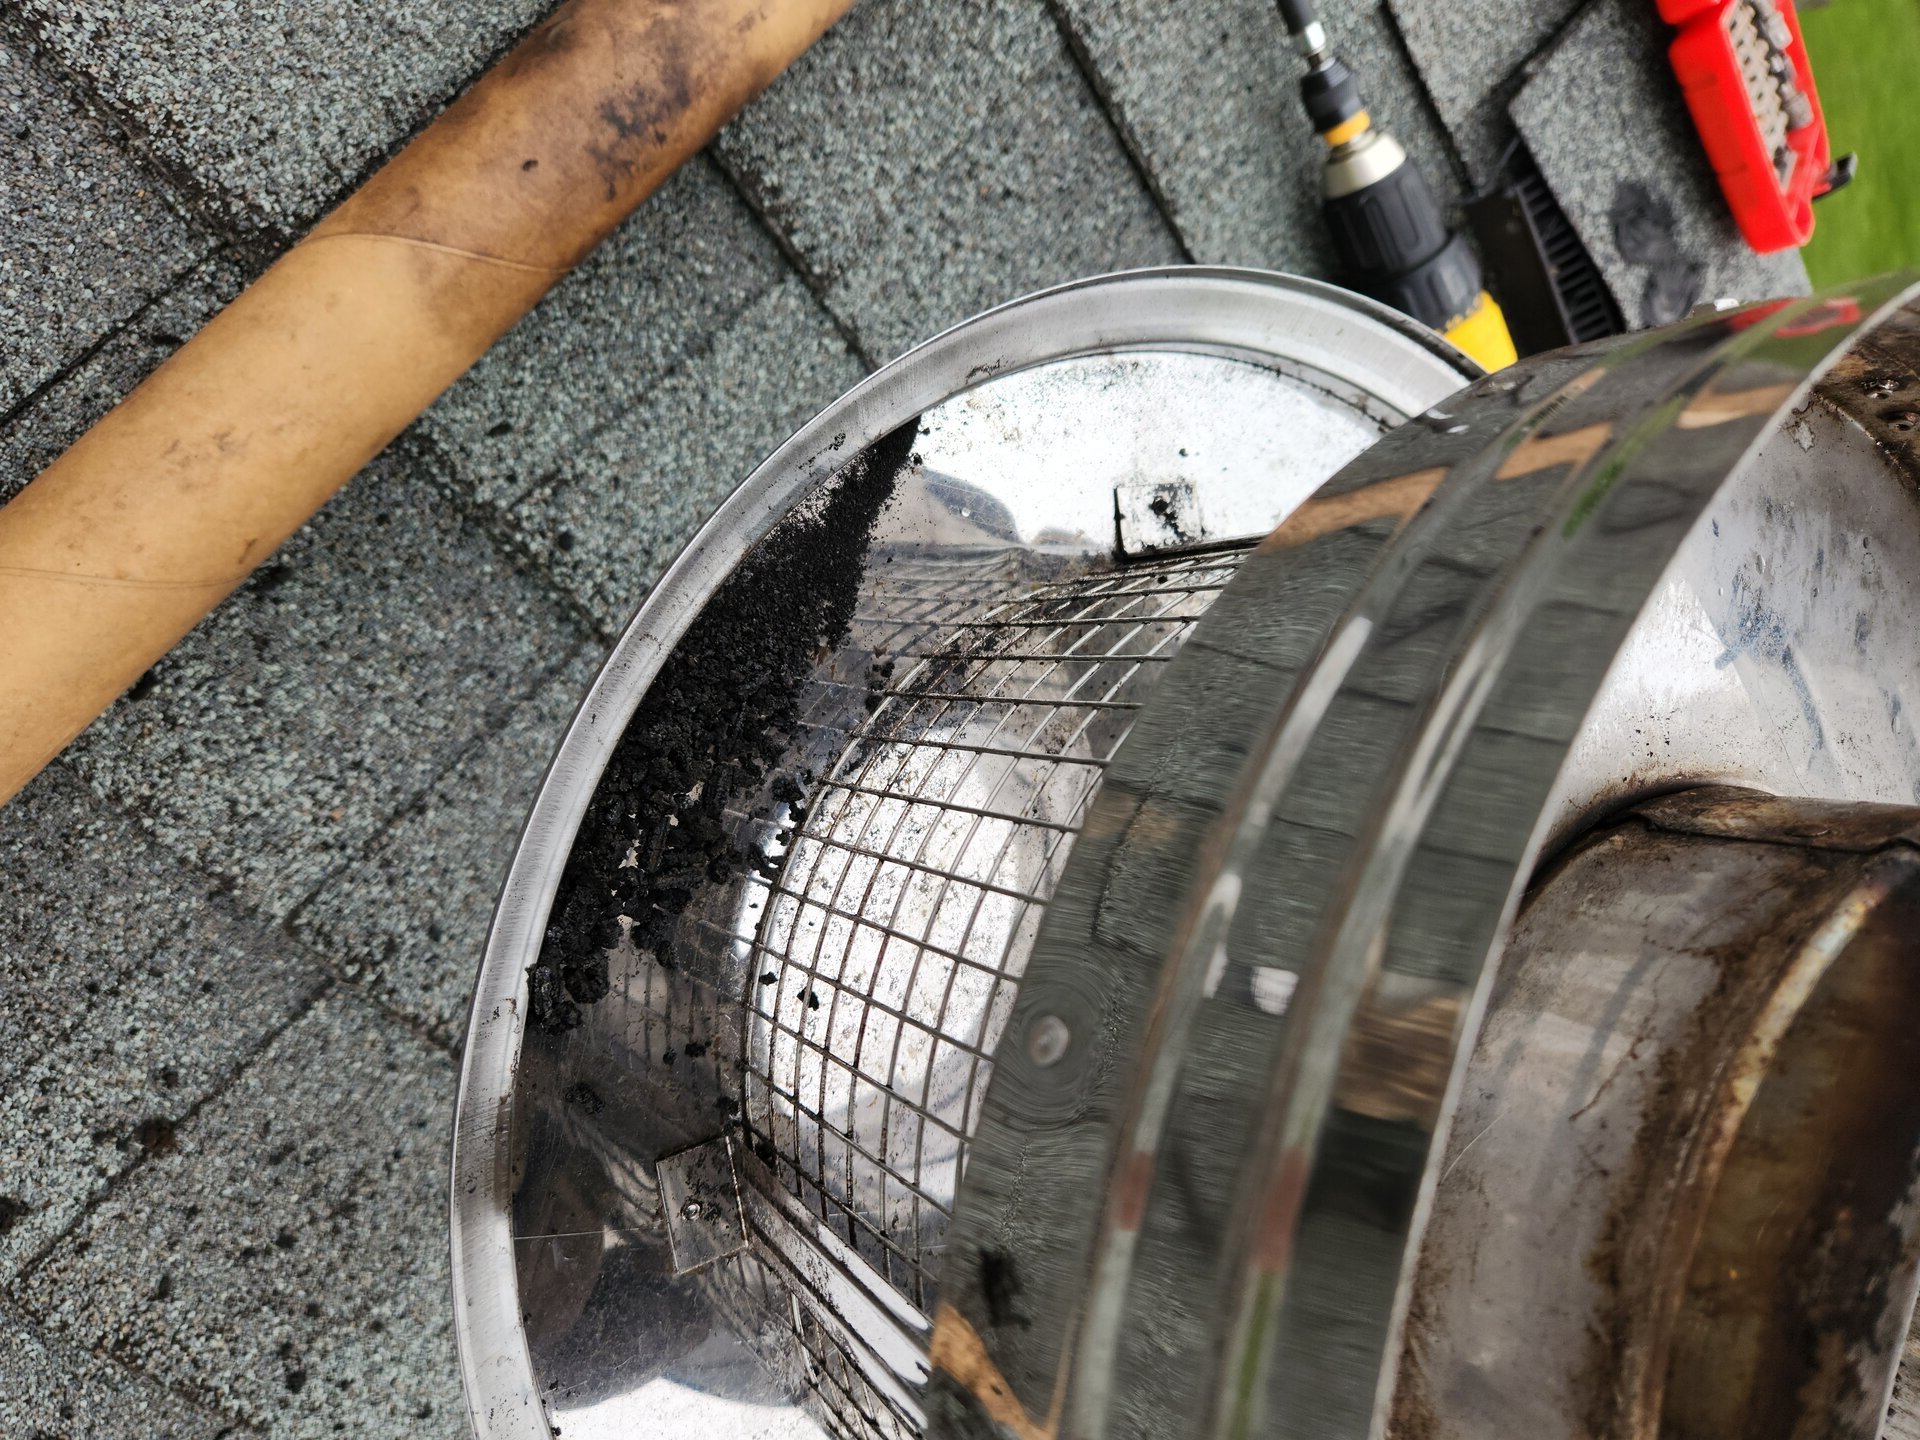 Chimney Cap
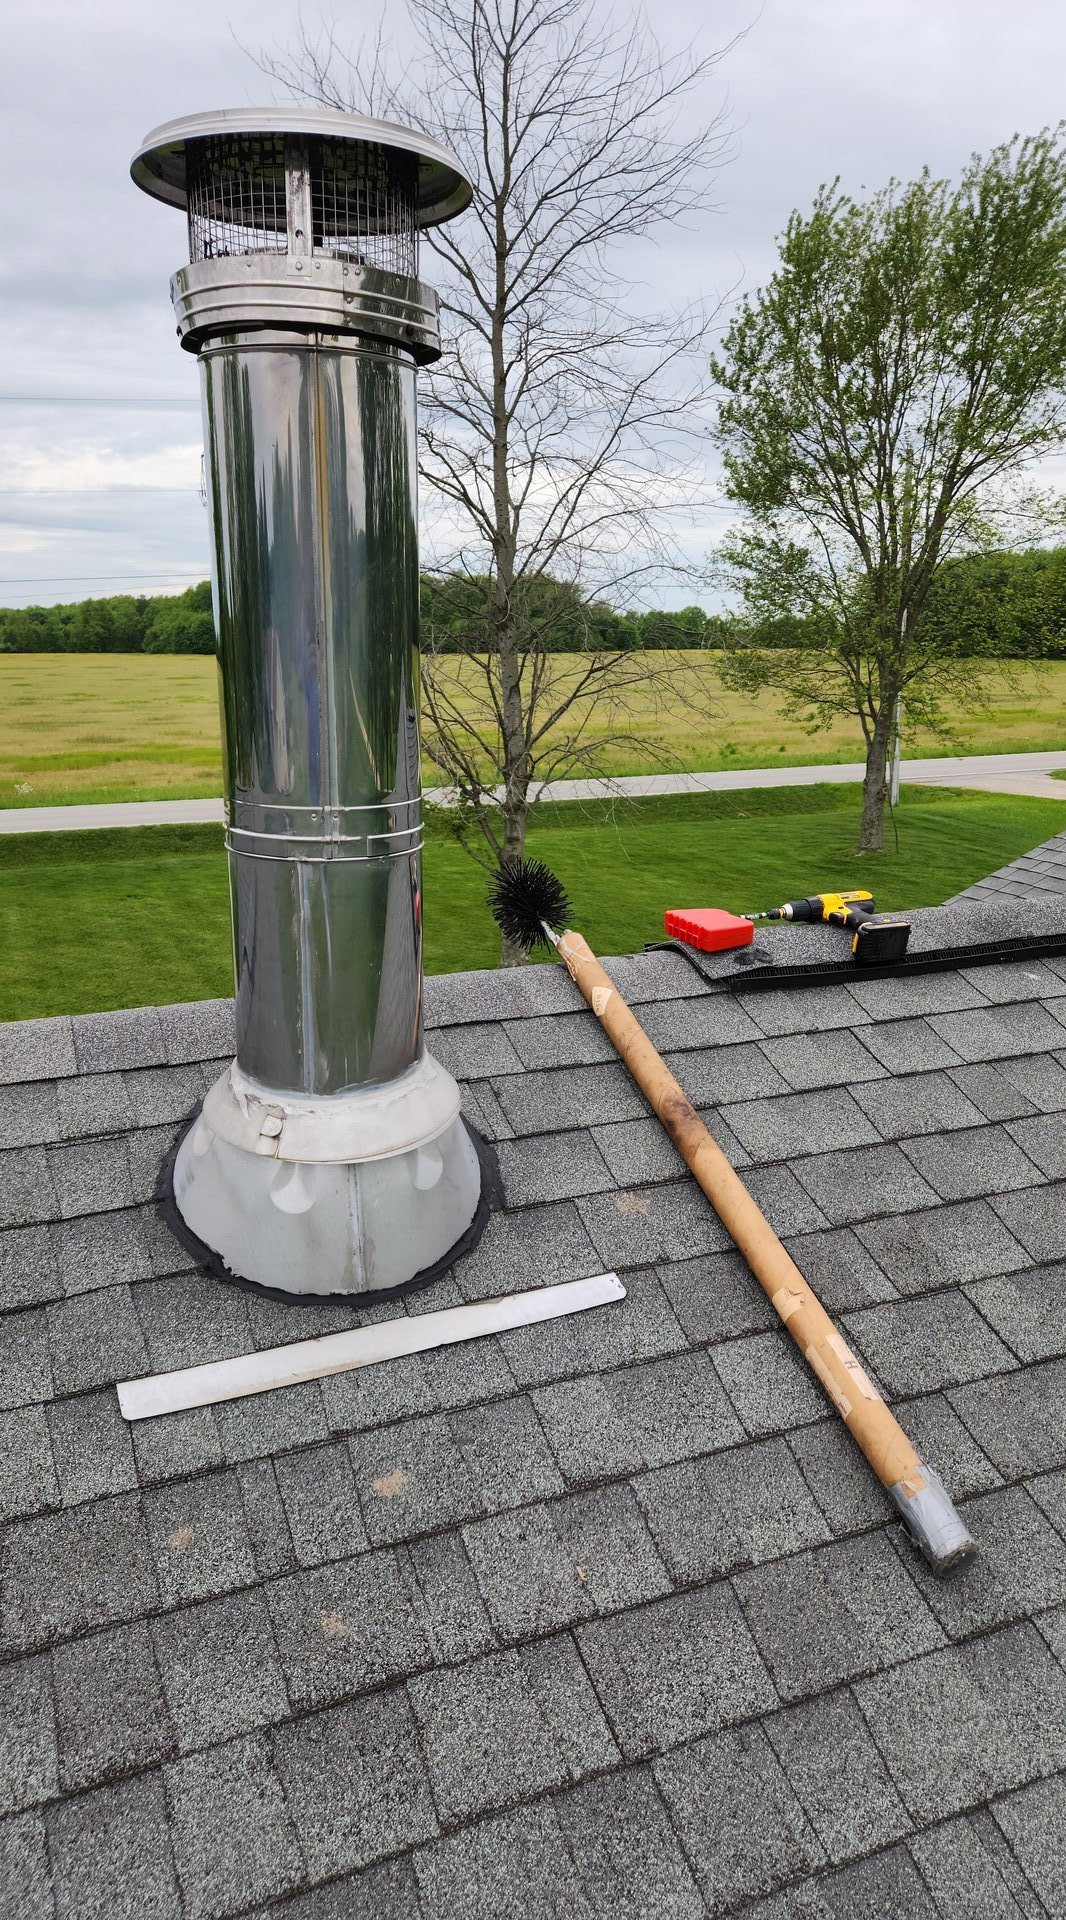
The next part requires climbing a ladder up onto the roof. This is undoubtedly the most dangerous part of this whole process. Get the cap removed from the chimney and take a look inside. There should only be flakes of creosote and some soot lining the walls of the chimney. This is a good time to judge what type of creosote you are dealing with too.
 Types of Creosote
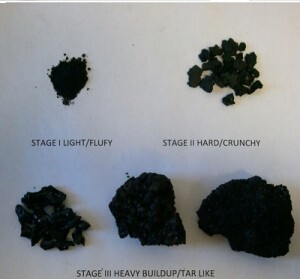
Type 1 and 2 creosote are all I have ever had in my chimney. This is where proper burning techniques come in to play such as only burning seasoned firewood and maintaining a proper burn temperature. Allowing a fire to smolder and/or burning unseasoned, wet, or poor quality fire wood will accelerate and worsen the type of creosote forming in the chimney. Type 1 and 2 are easily swept out of a chimney. The other types will adhere to the chimney walls or will have a tar like consistency, making them almost impossible to sweep out and will require a chemical treatment to remove. Needless to say, if you find type 3 creosote or higher in your chimney it is time to call a professional chimney service.
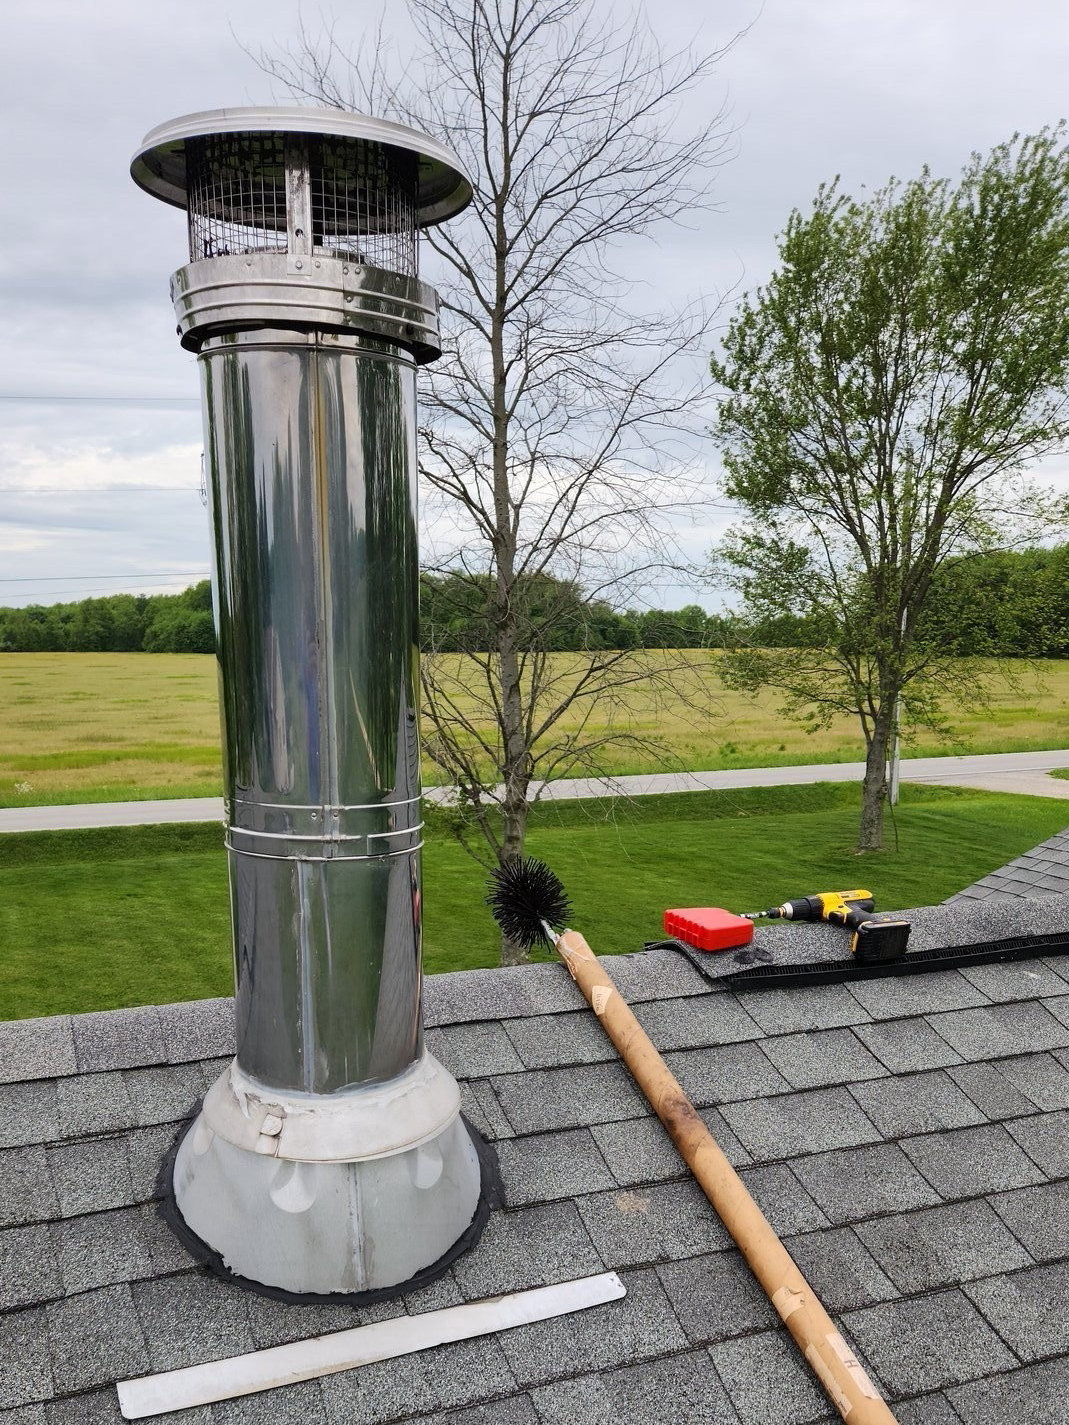
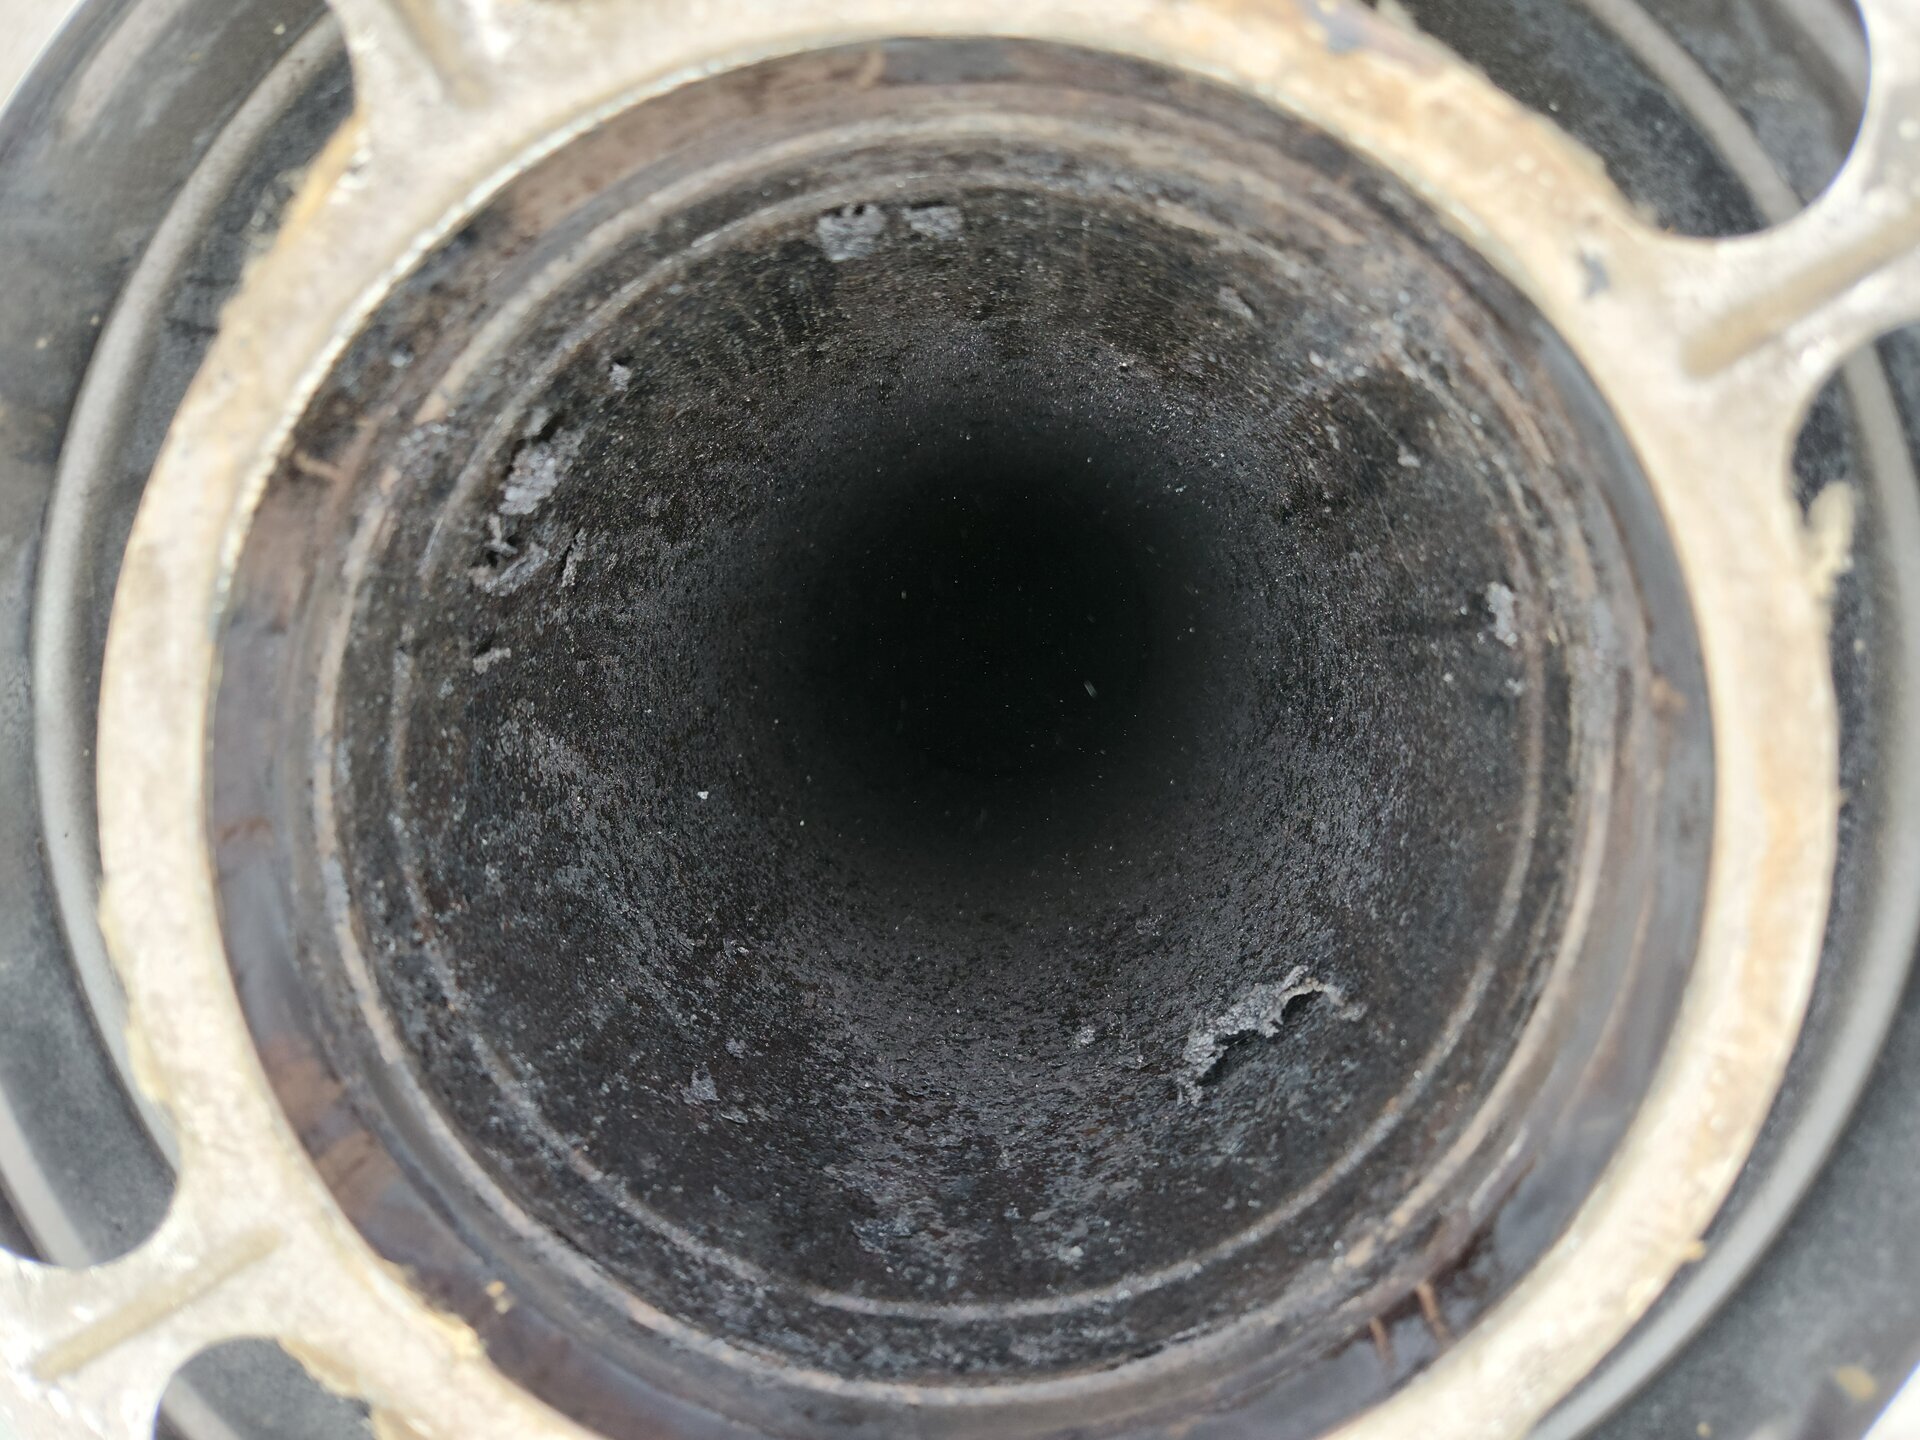 Before Sweeping
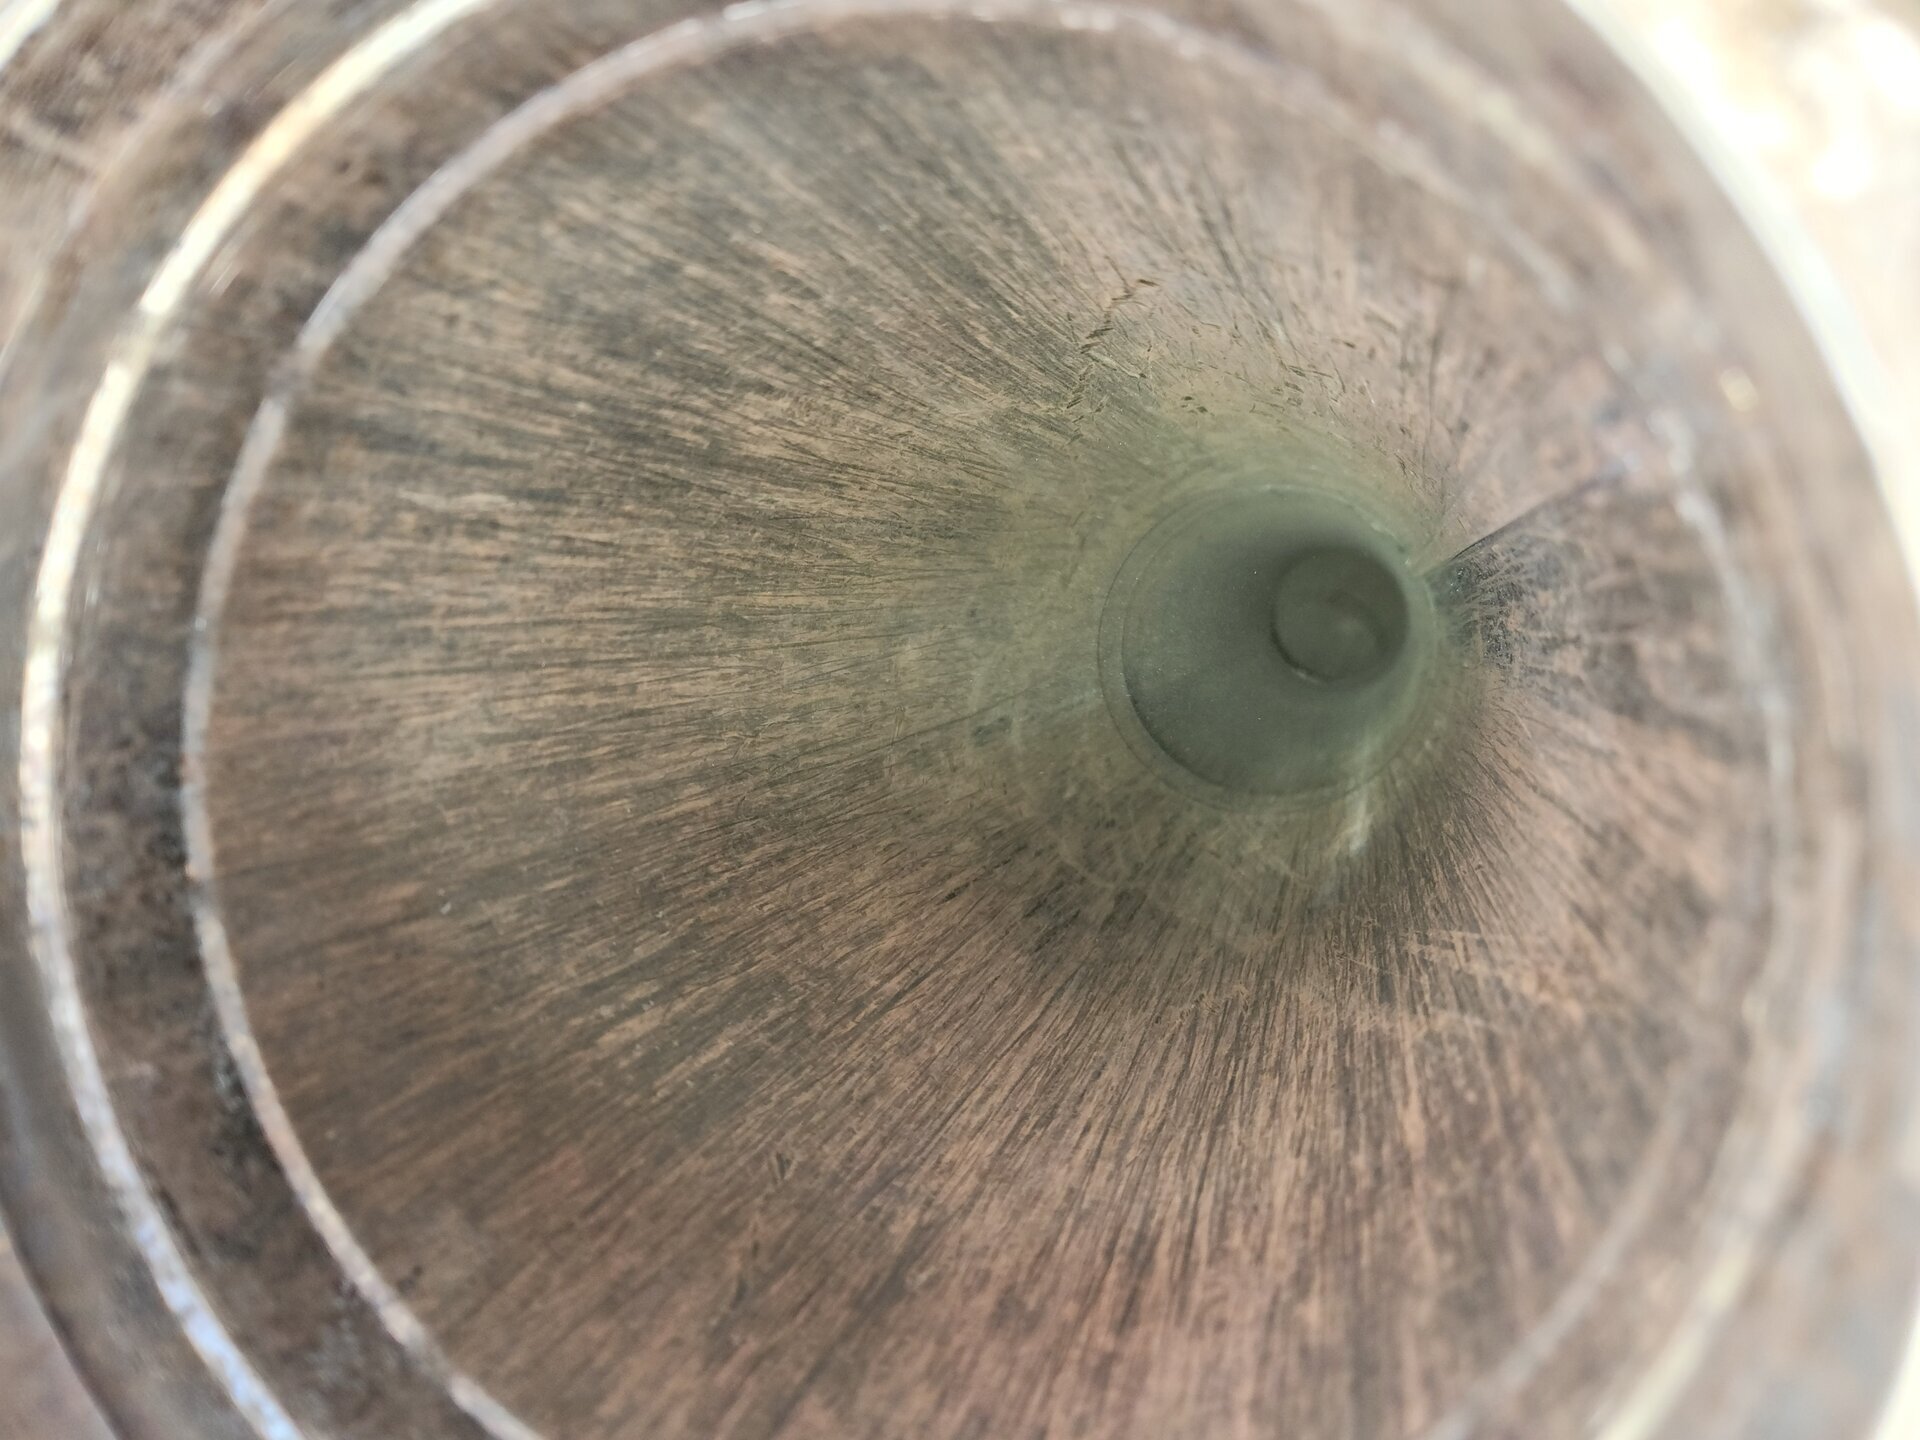 After Sweeping
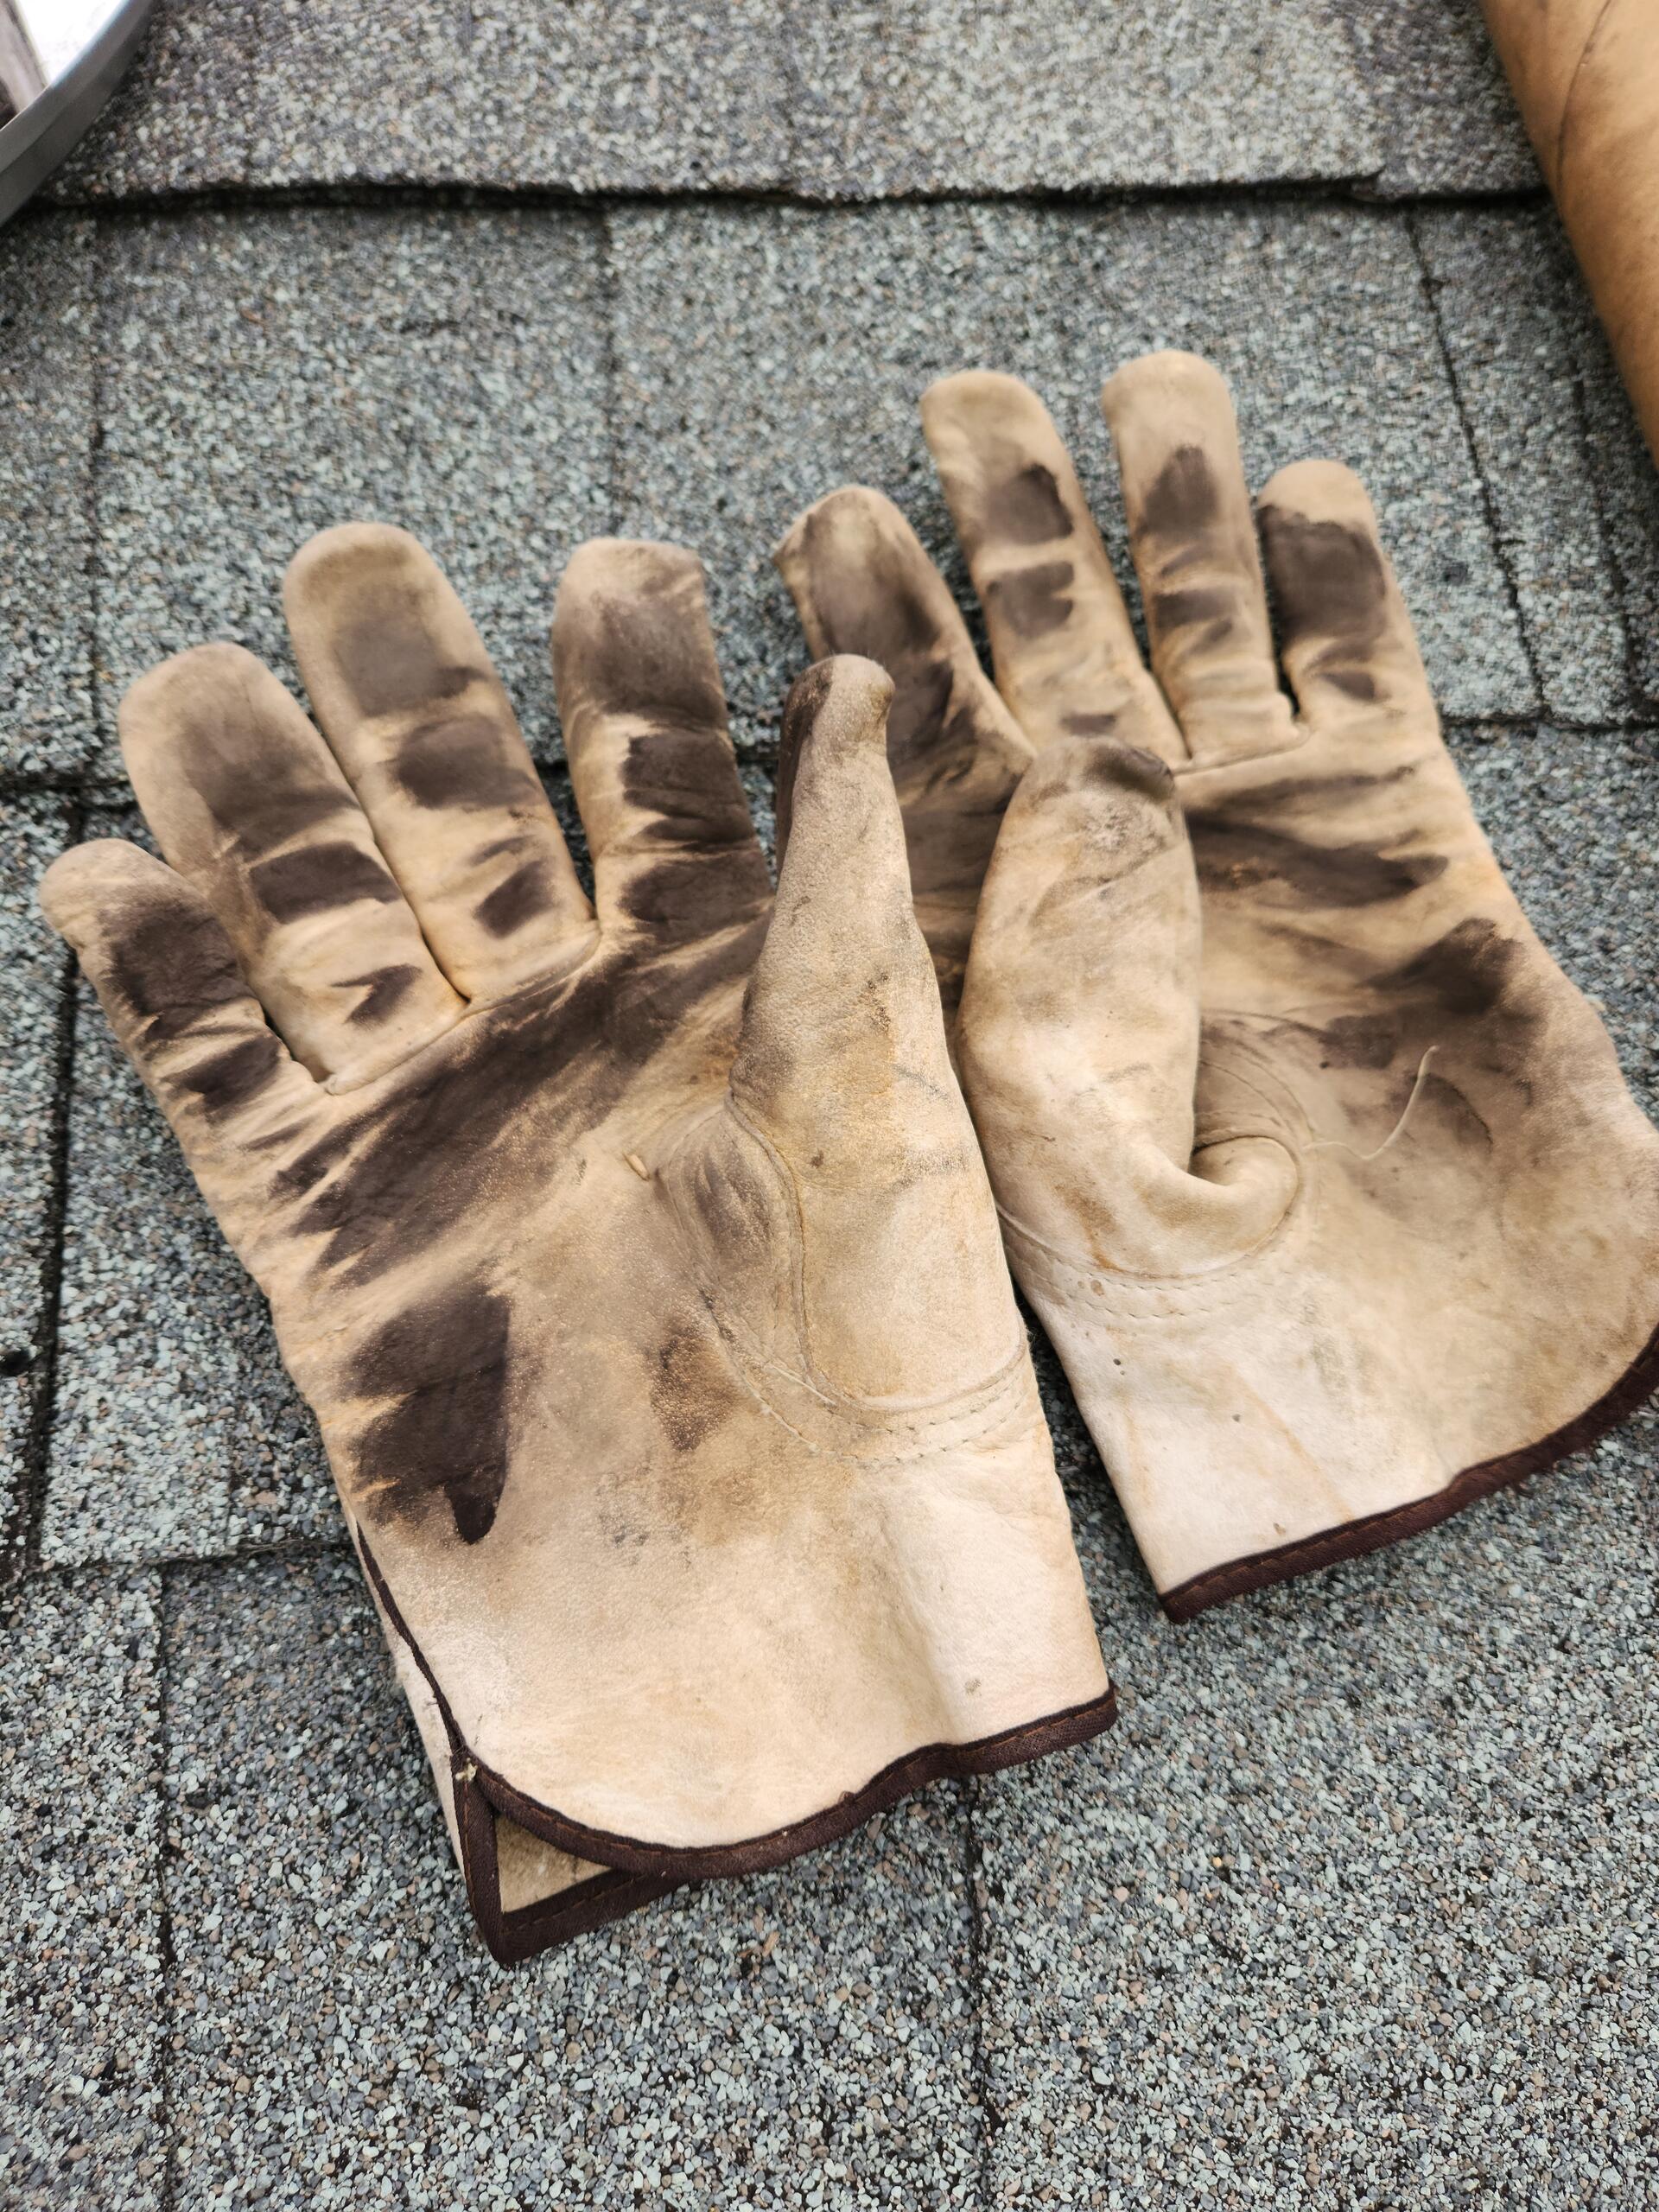 Gloves
Here you can see the before and after of the chimney. The chimney had some powdery soot/creosote along with a few bigger pieces but was easily removed using a brush. I work the chimney in sections, scrubbing vigorously before attaching another rod. I do this all the way down the chimney until I feel the brush push into the firebox of the wood stove, then I continue to scrub as I pull the brush back out. In the “After” photo, the chimney looks clean and ready for the next season. Stay upwind of the chimney as you sweep as there will be a lot of particulate coming out which is best to avoid inhaling. It is also a good idea to wear gloves as you sweep. The fiberglass rods will get covered in soot as you sweep and its easy to get fiberglass splinters in your hands. Clean any creosote built up on the chimney cap and screen and reinstall it when finished sweeping.
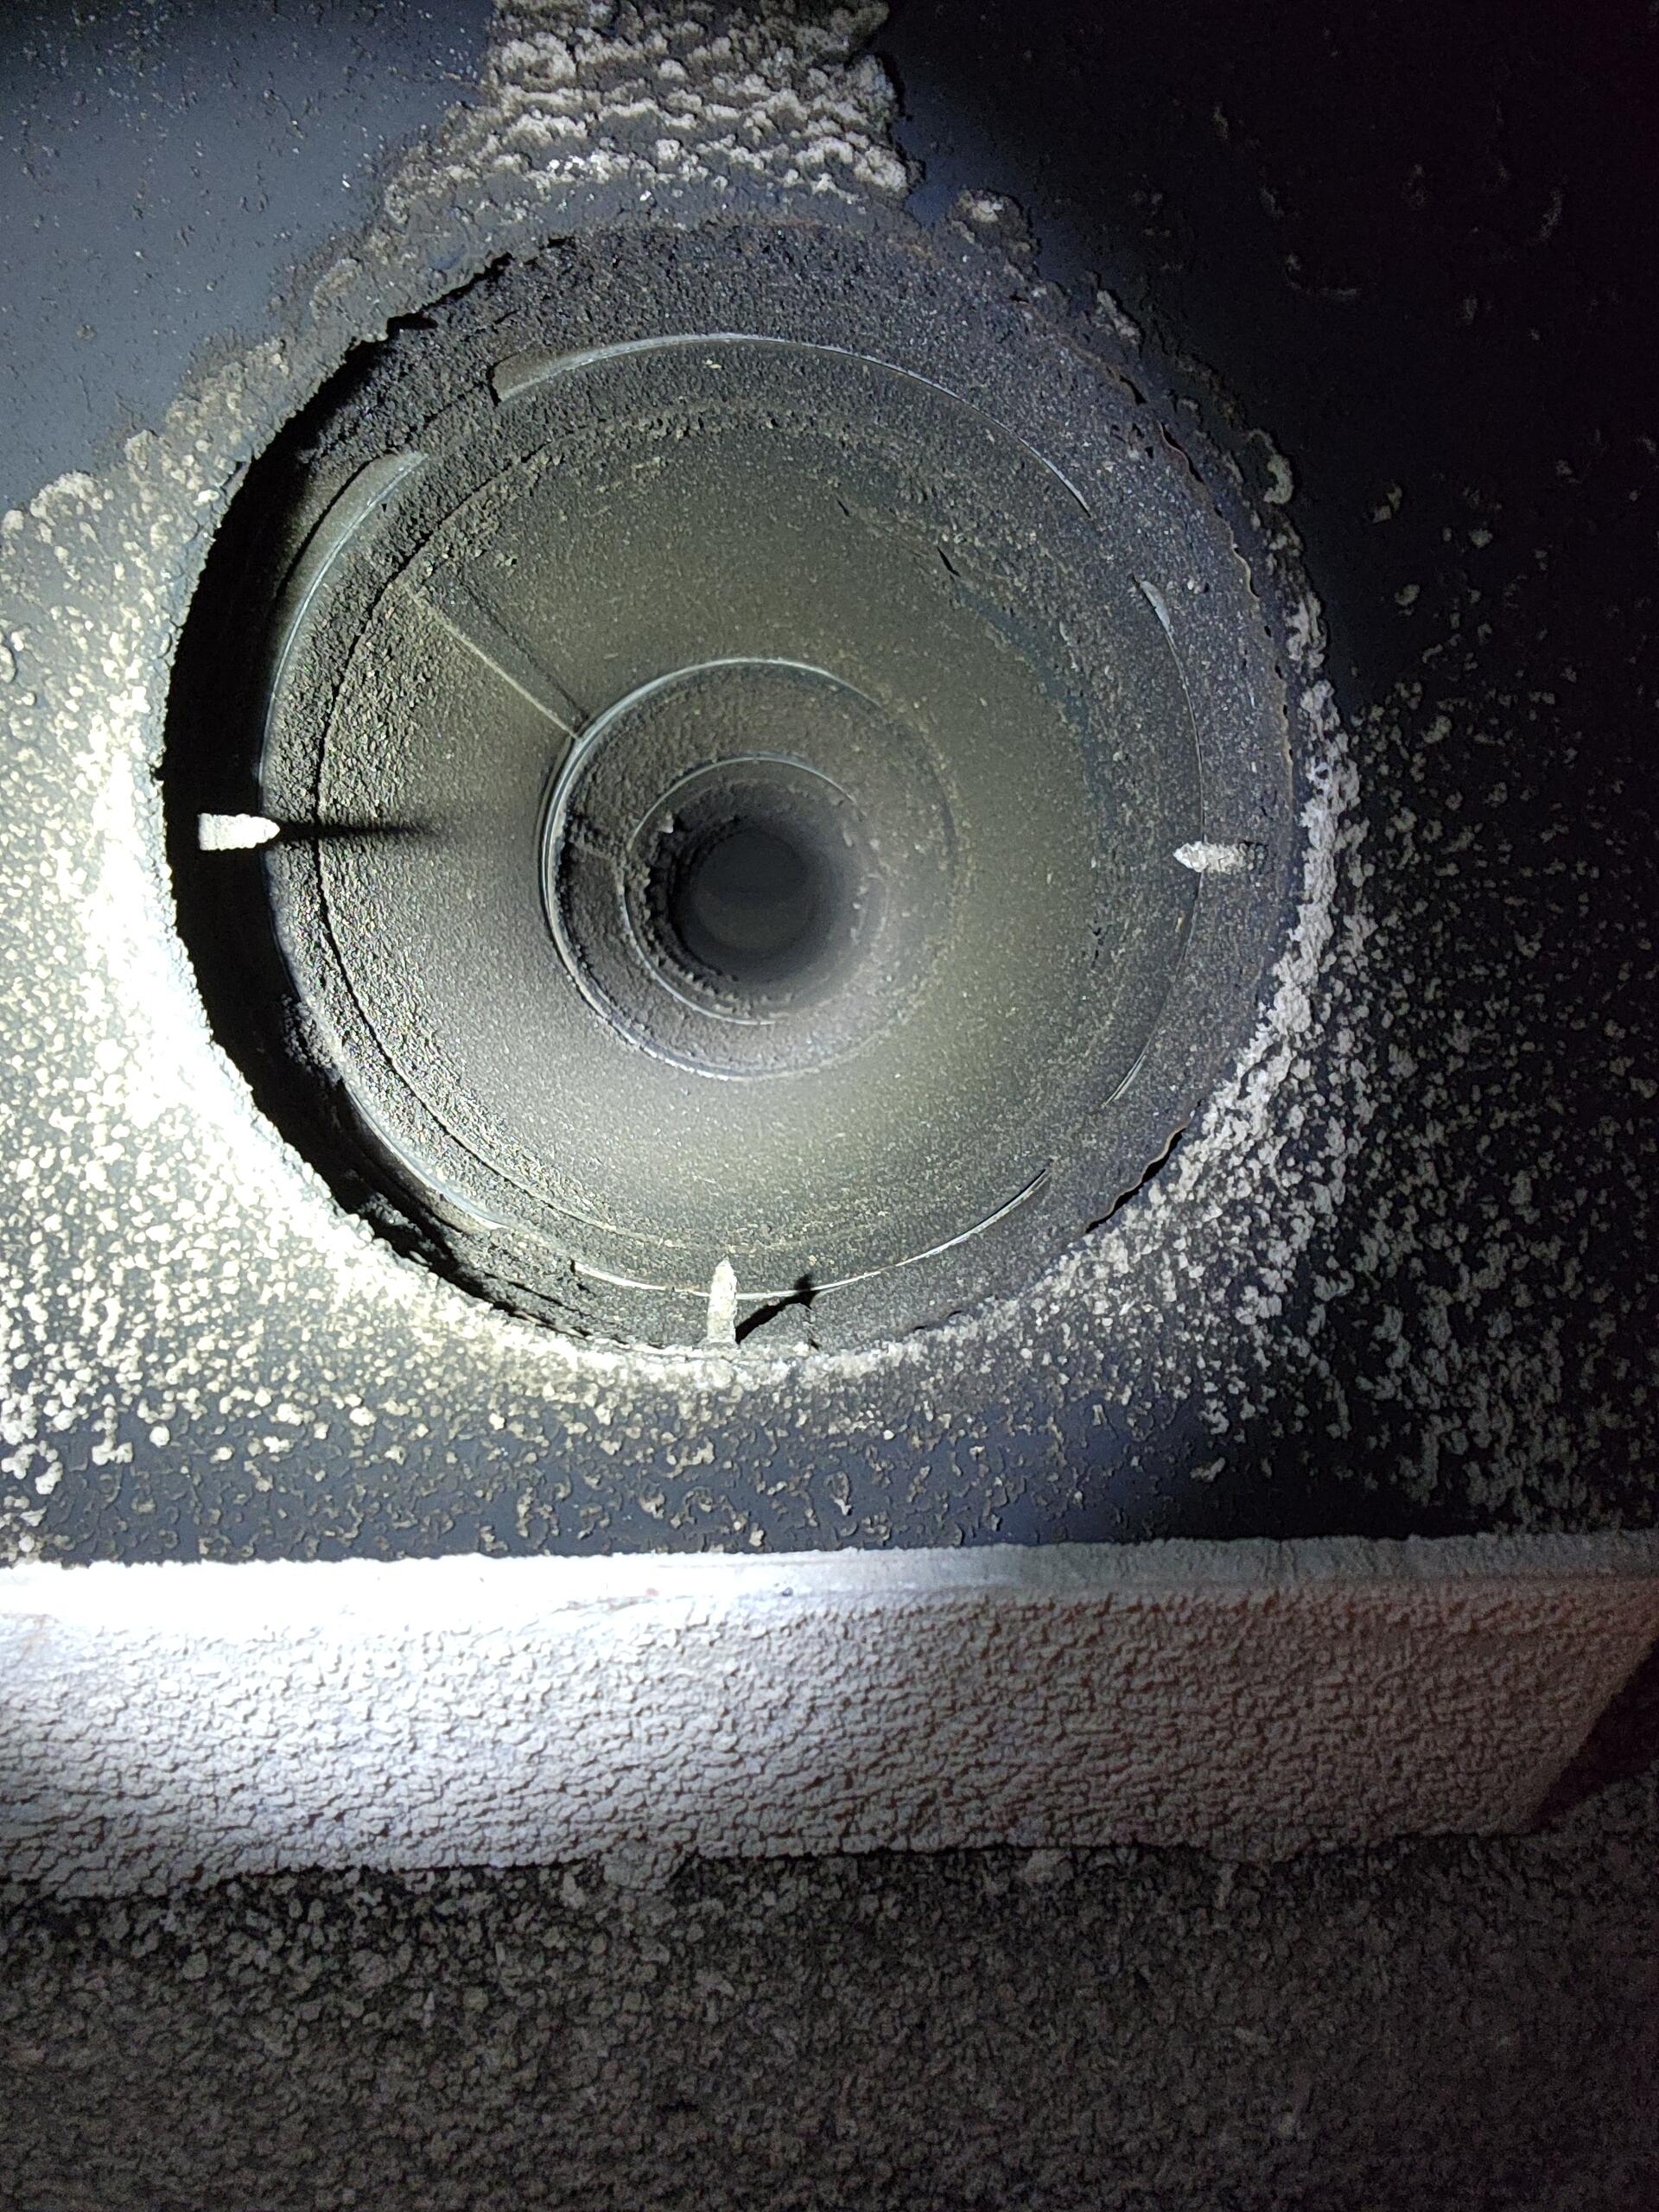 Before Sweeping - View From Bottom
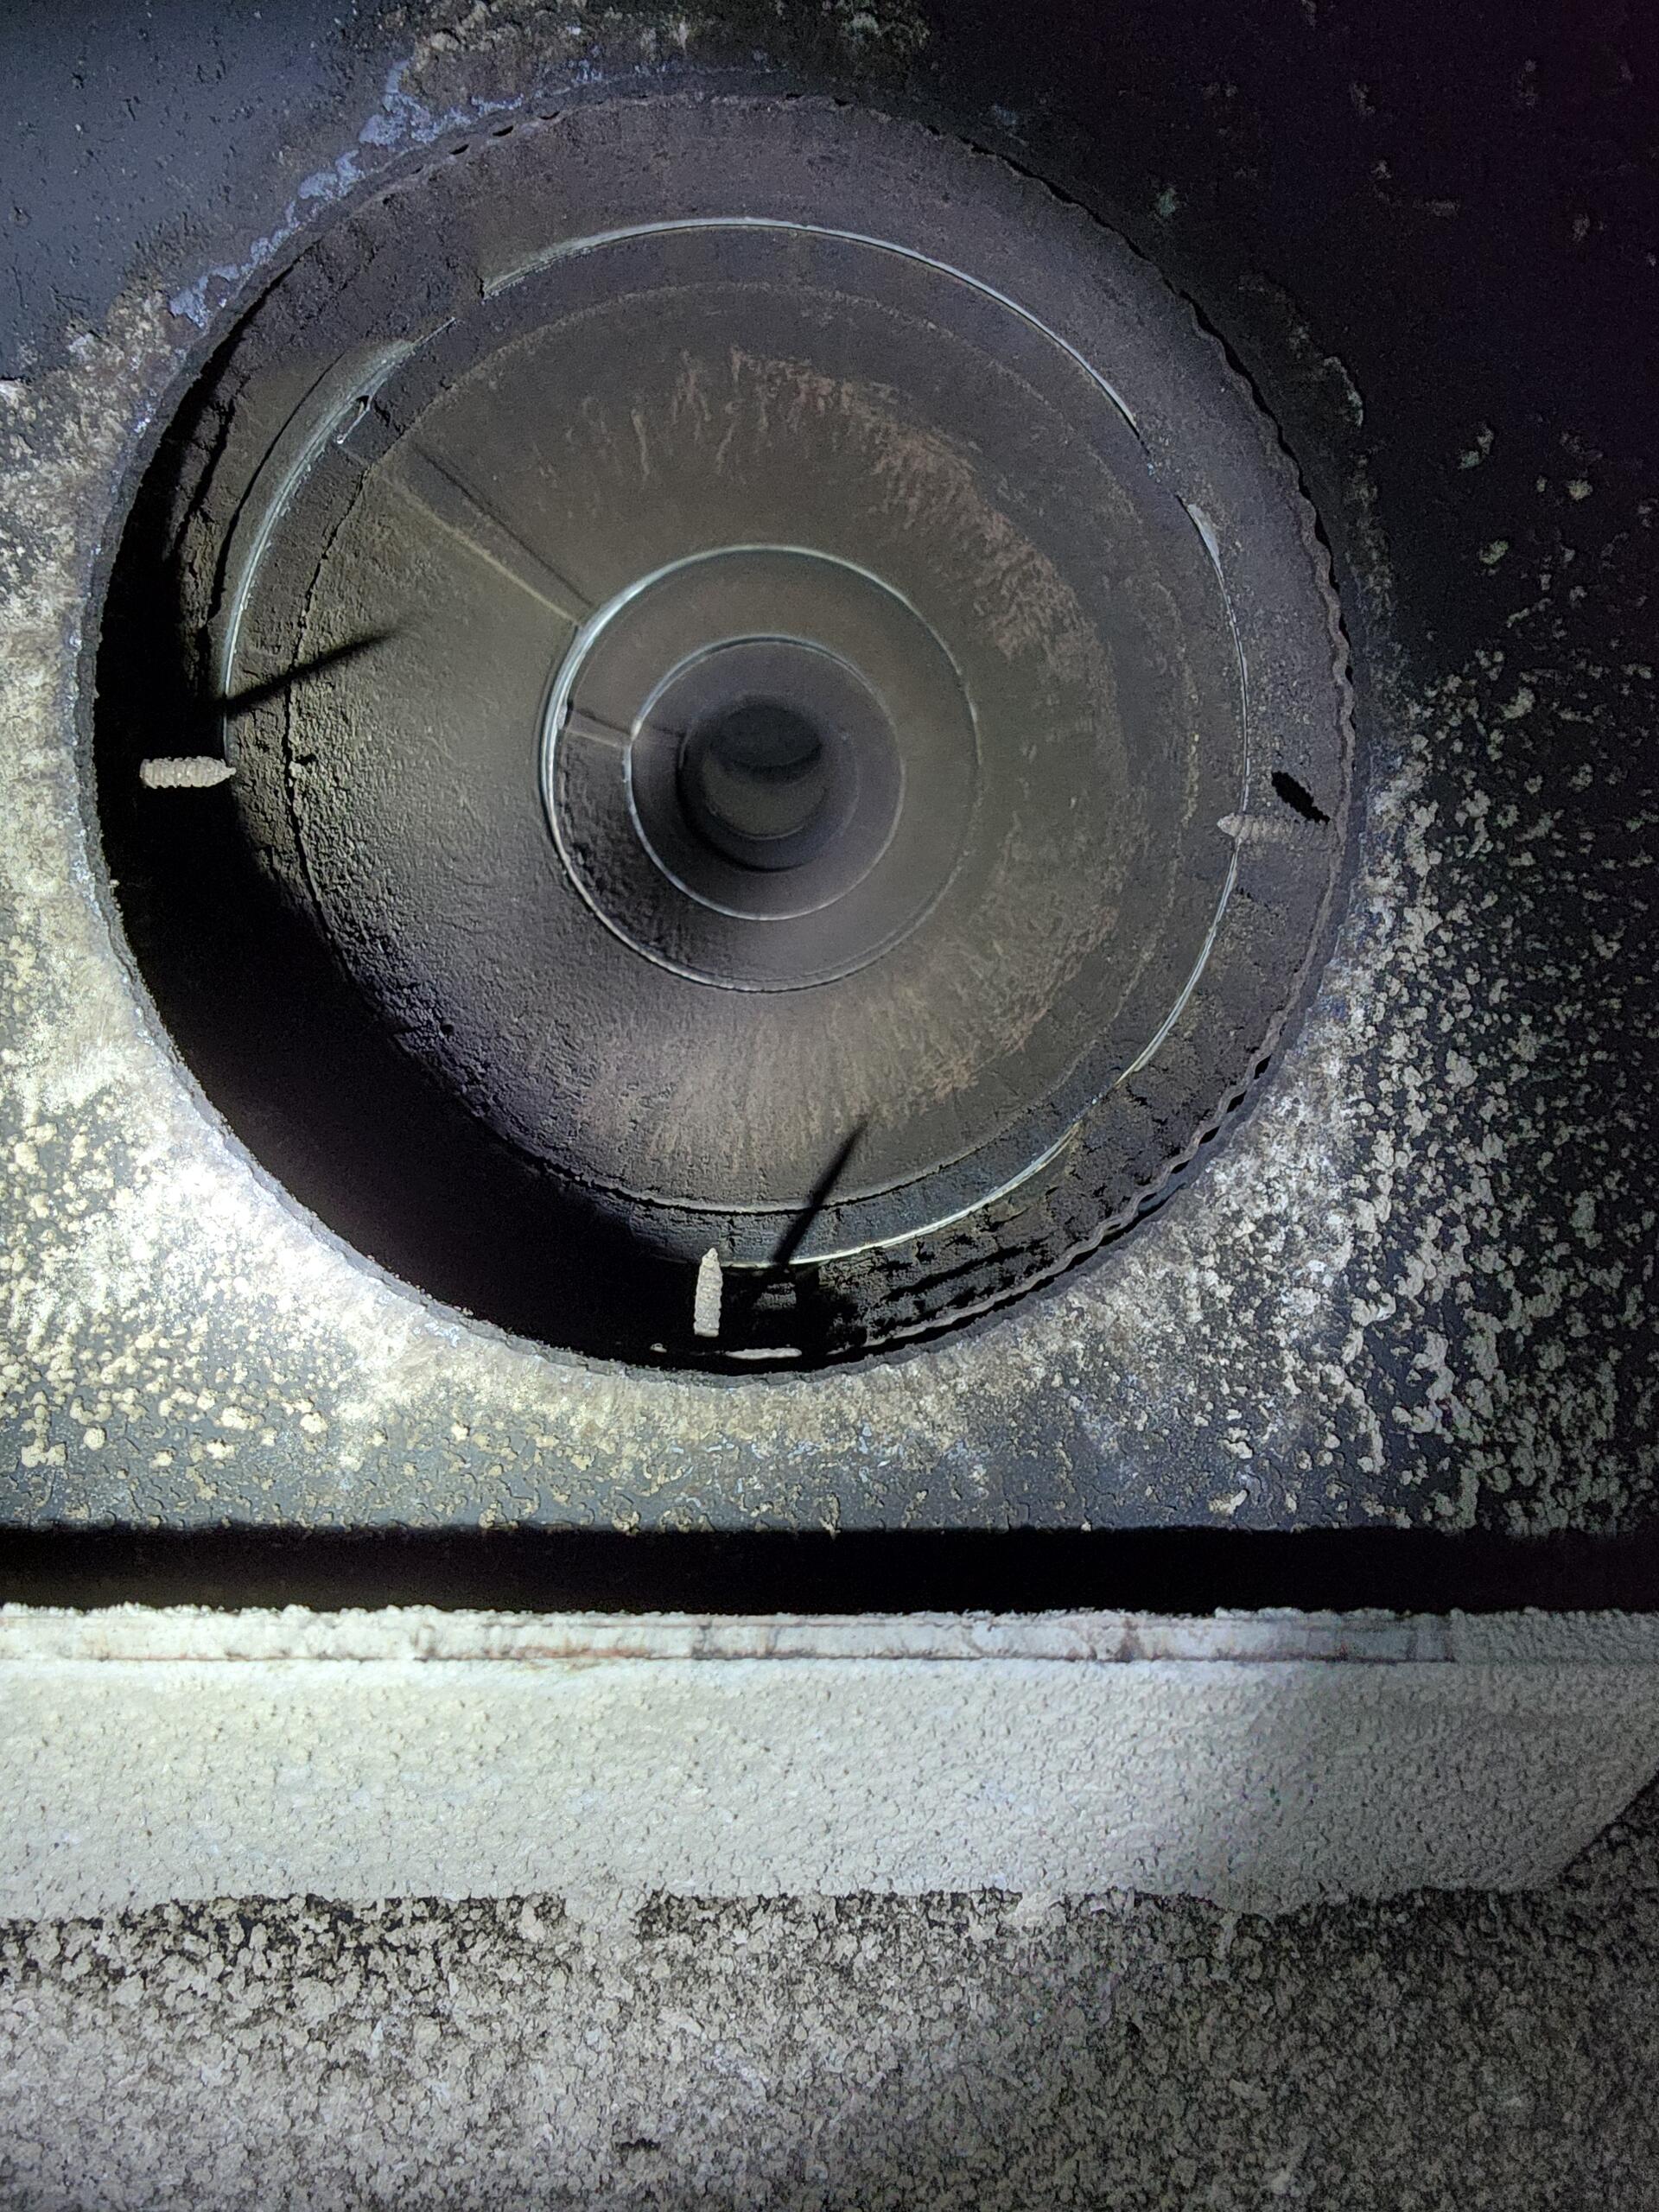 After Sweeping - View From Bottom
Here is a view of the chimney before and after sweeping viewing from the bottom of the chimney inside the wood stove. This area of the chimney will have mostly soot in it because it is exposed to mostly high temperature smoke and gasses. I try to keep my burn temperature between 500 and 600 degrees Fahrenheit. As smoke travels up the chimney it begins to cool and creosote will begin to form on the walls of the chimney. I find most of the creosote build up in my chimney in the last few feet at the top, where the smoke has cooled considerably. It is almost impossible to keep the woodstove temperature in the correct burn temperature range all the time. I allow my fire to burn down into the 300 to 400 degree Fahrenheit at night before going to bed. This allows the house to stay warm and keeps the fire going long enough to build it back up in the morning. To counter this period of a low burning/smoldering fire, I try to ramp the temperature up to between 600 to 700 degrees for 20 or 30 minutes a day to help clear out any creosote that has formed.
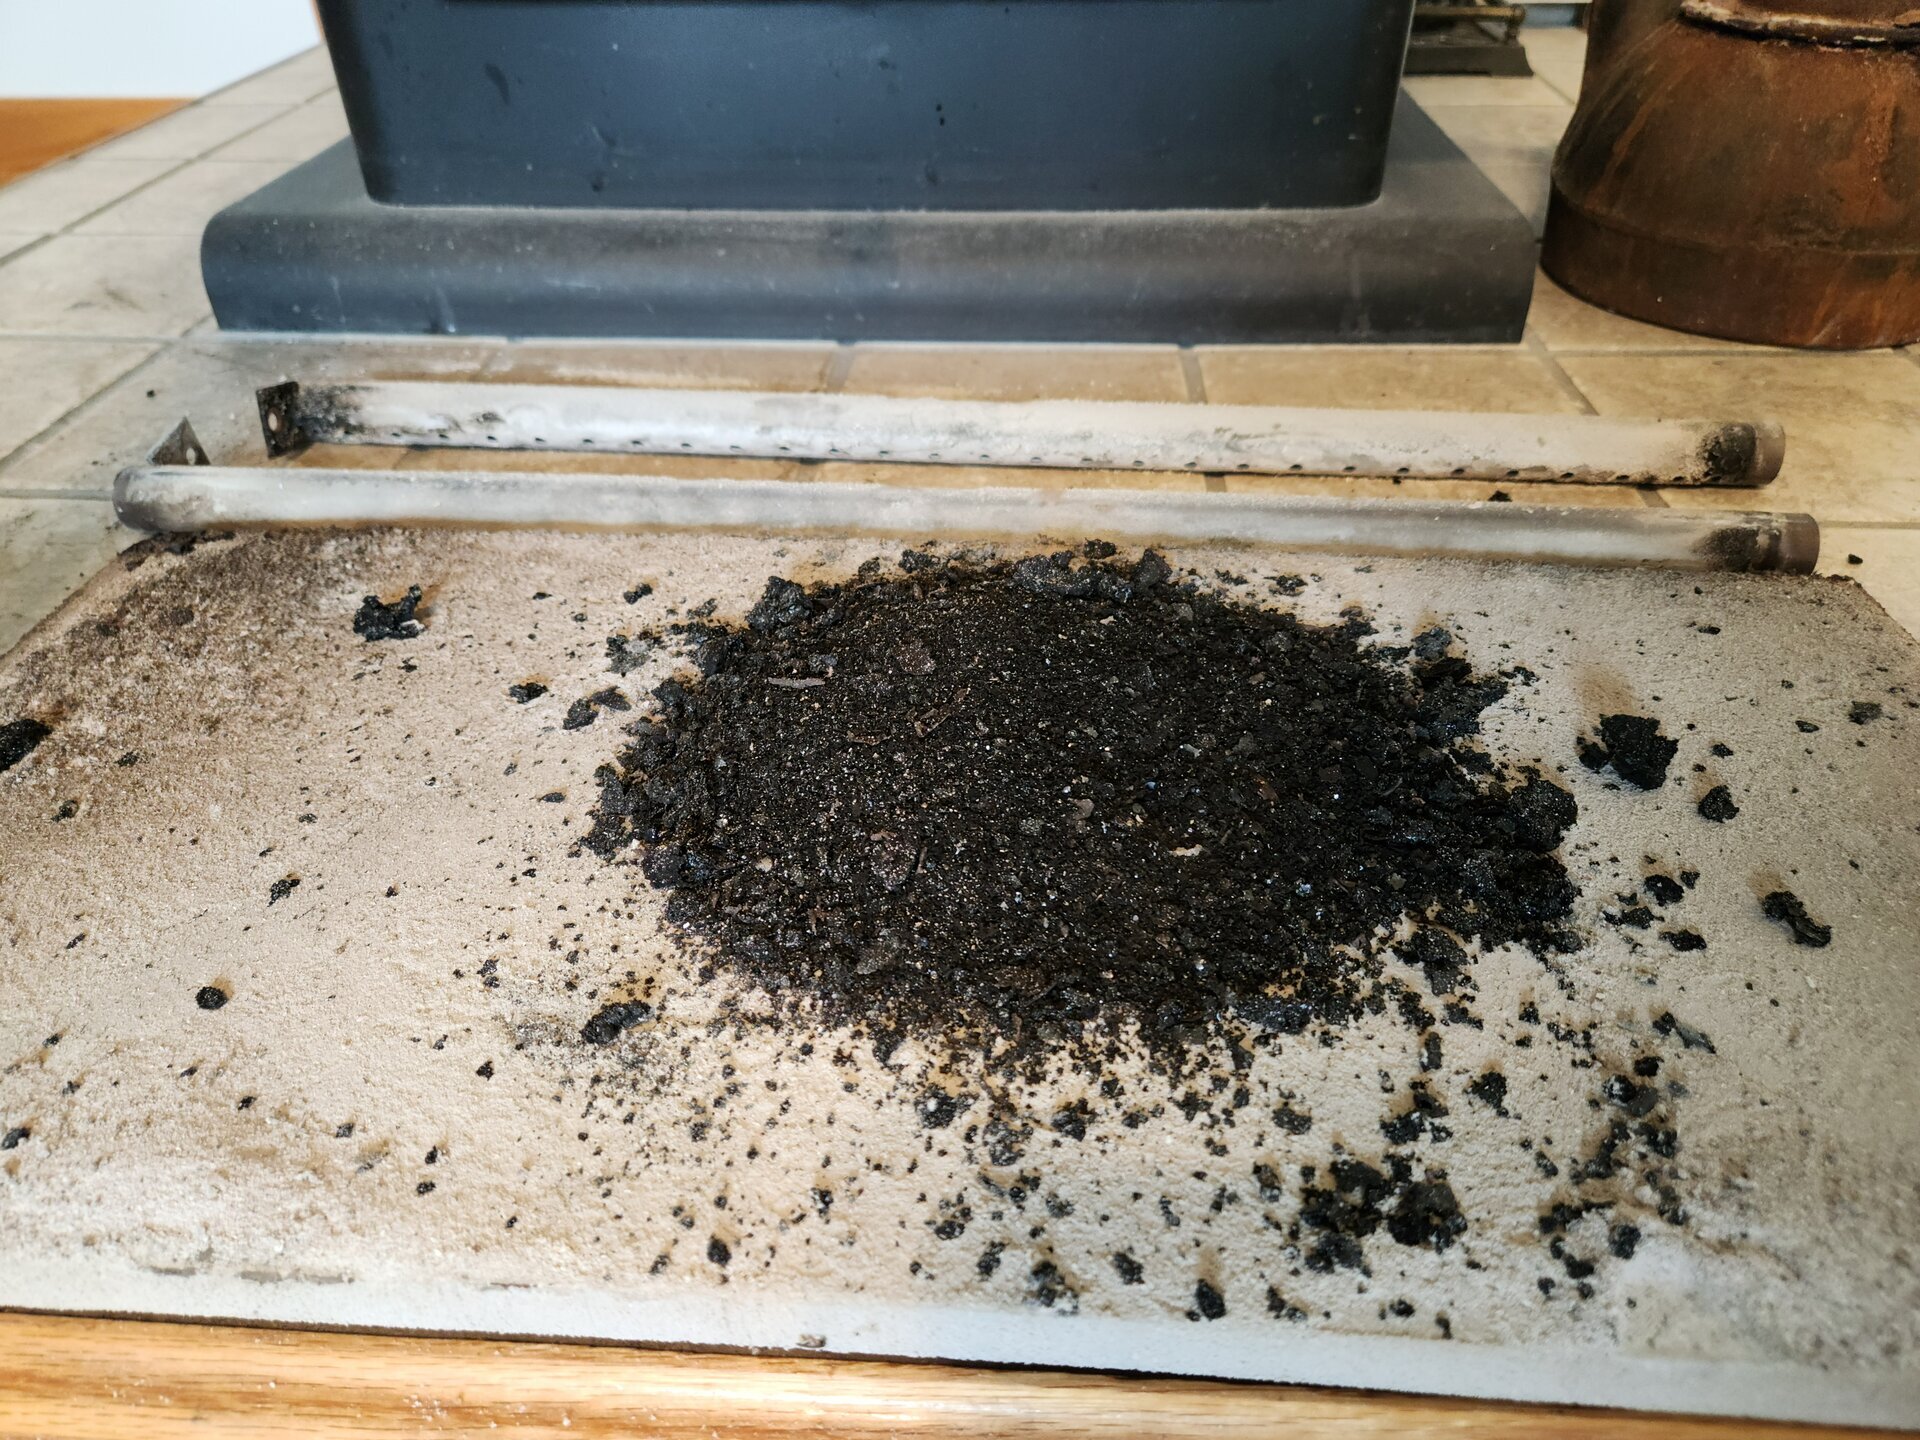
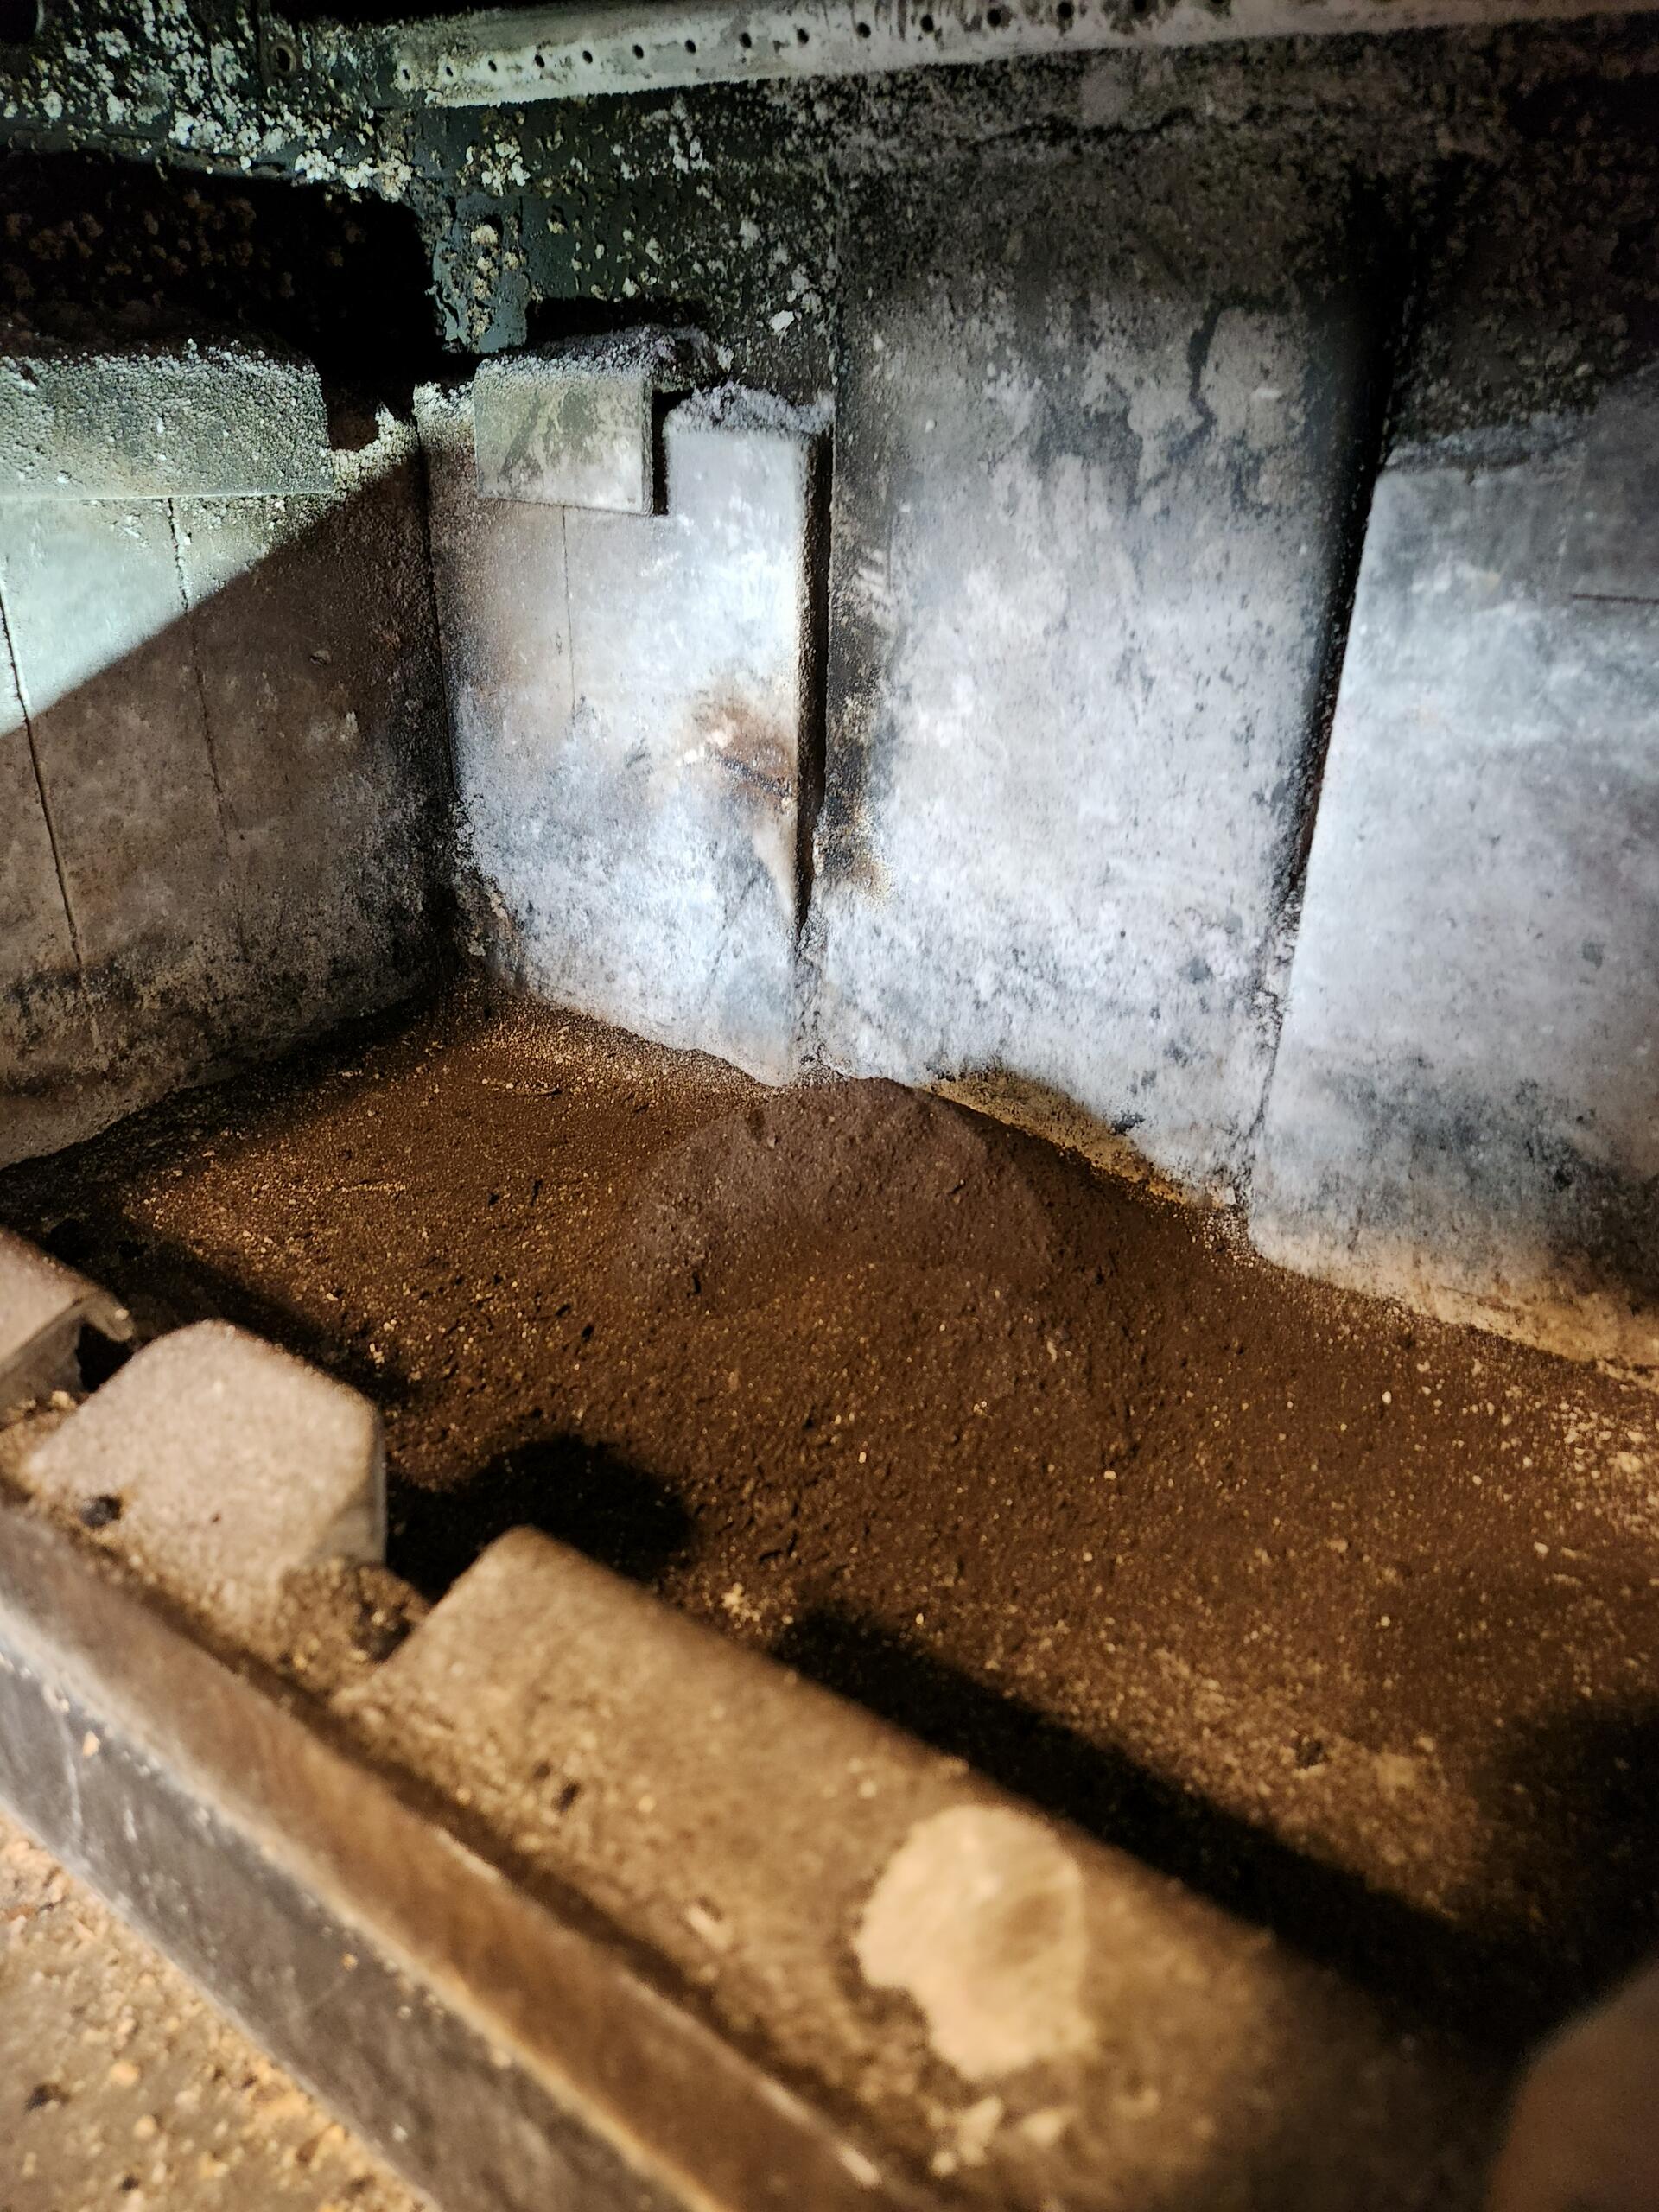 Creosote and Soot in stove after sweep
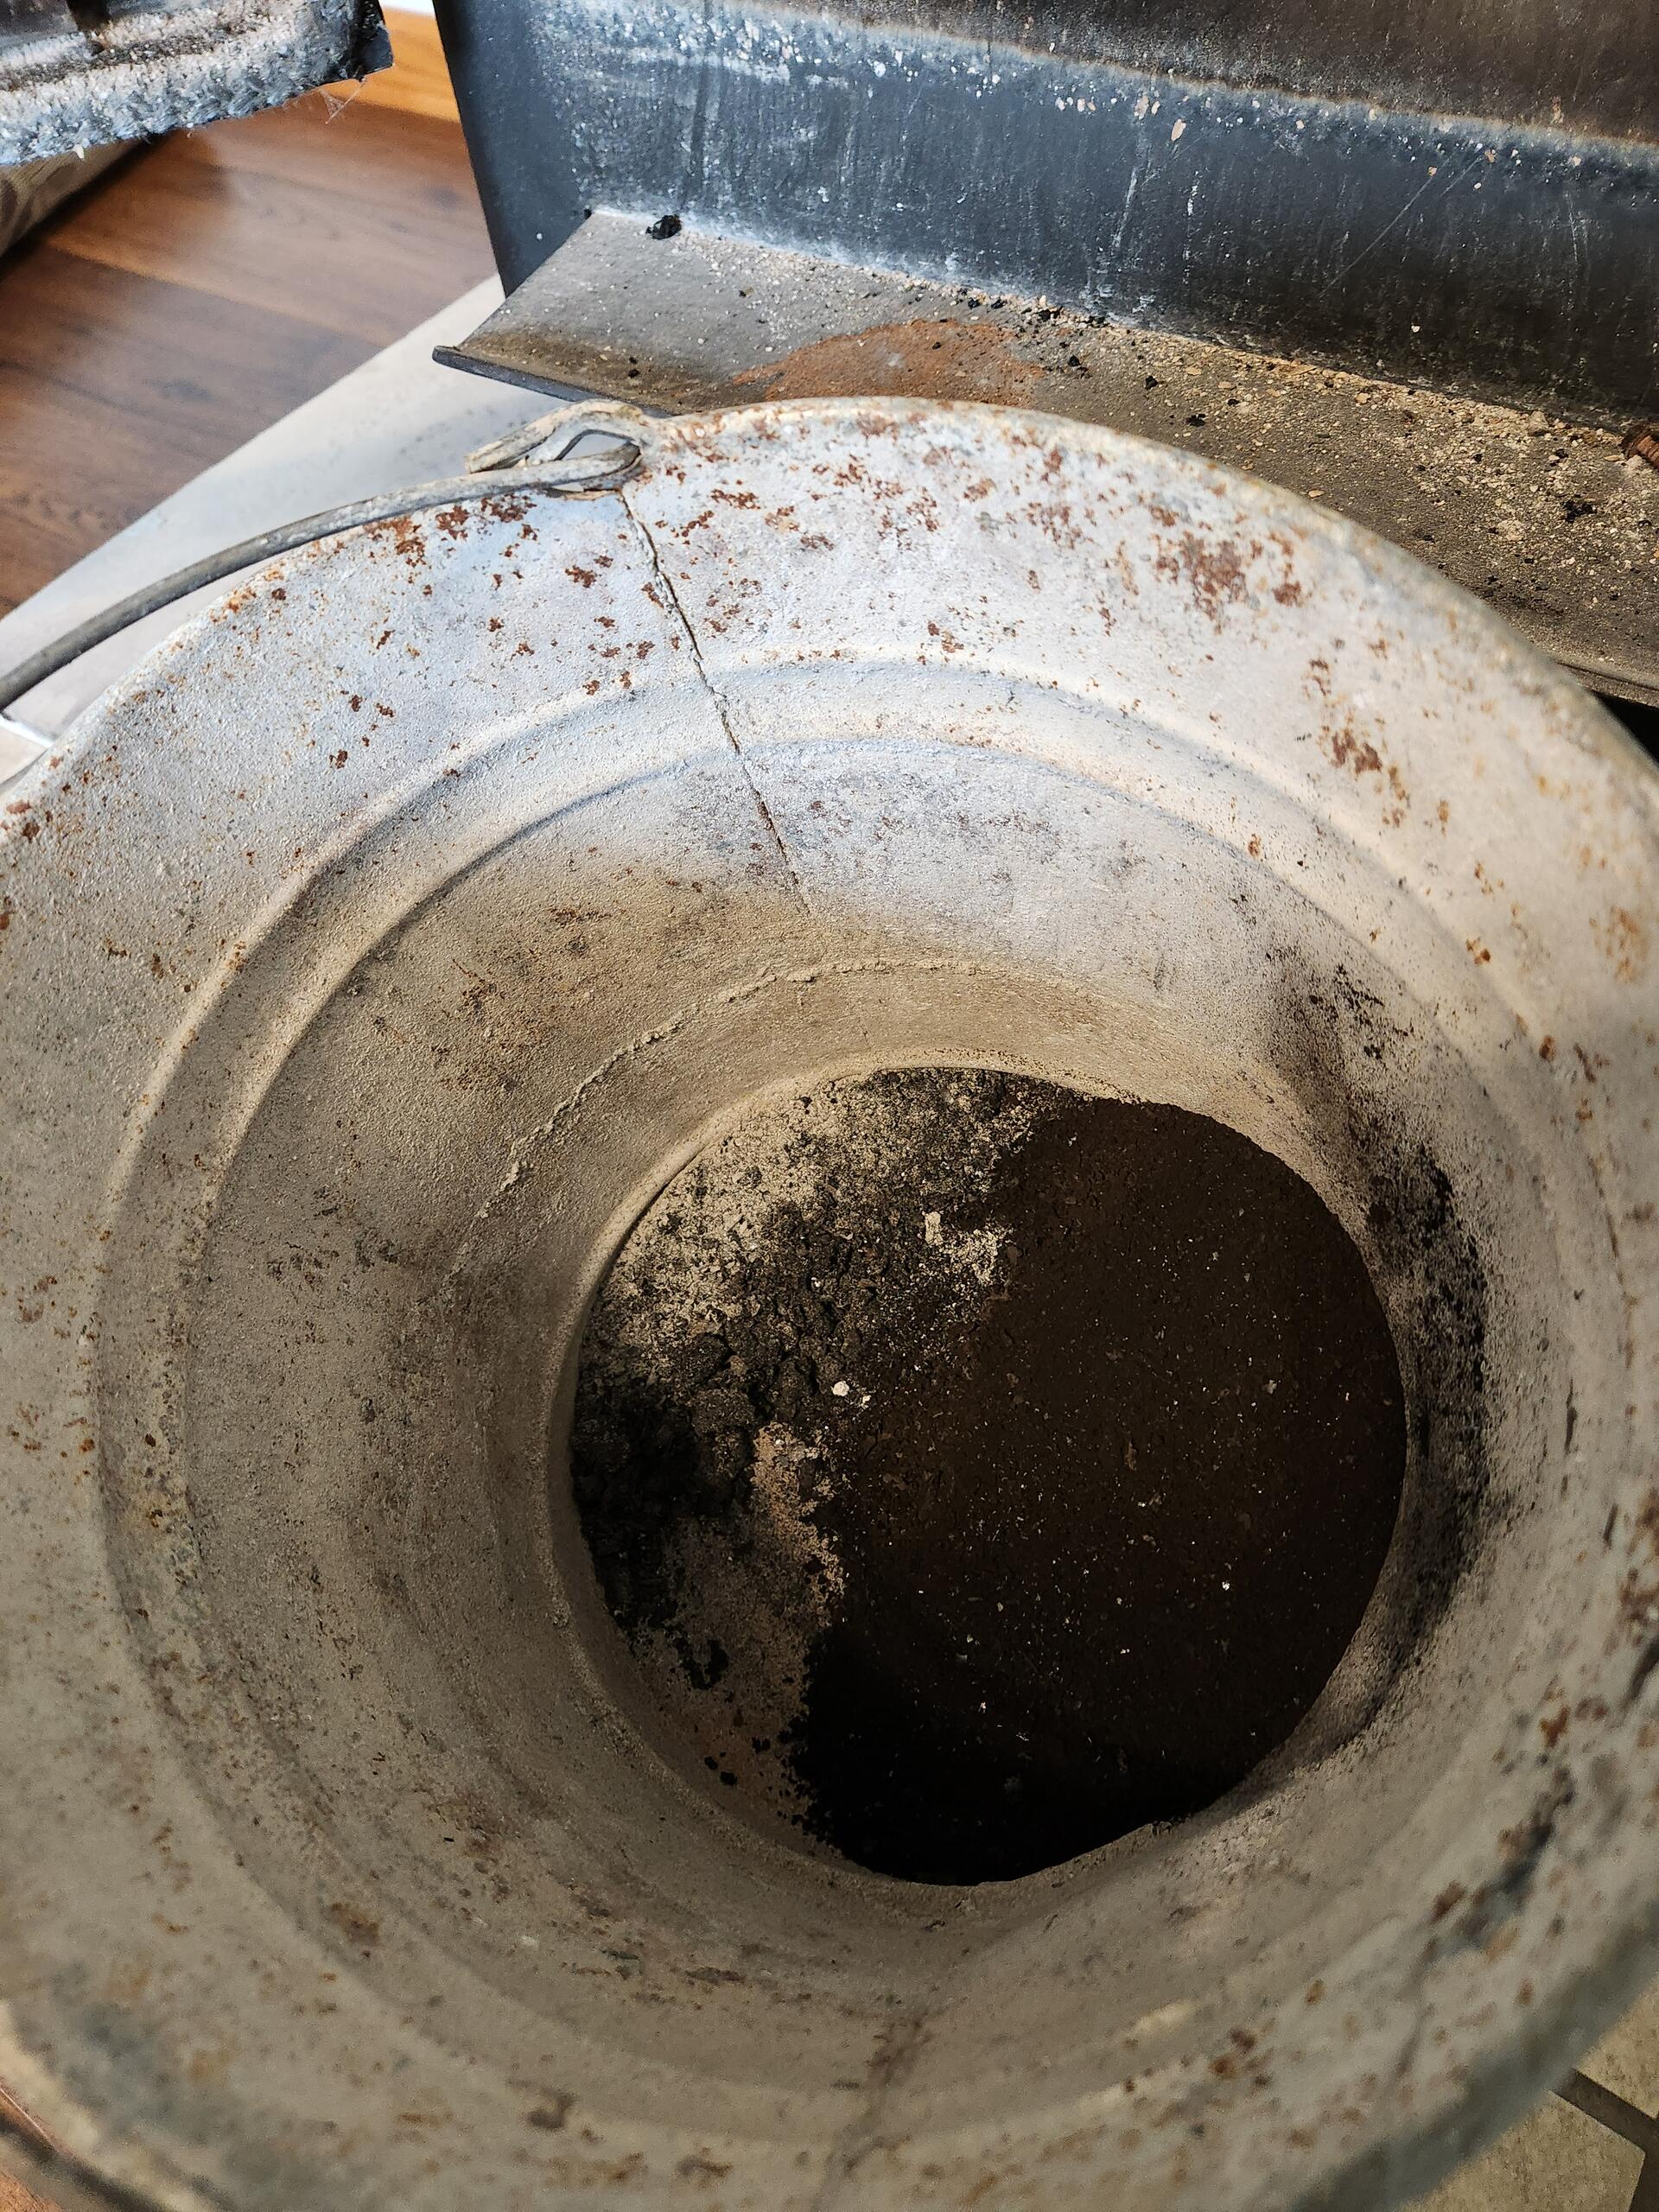 Creosote in Bucket
After sweeping, you will find a pile of creosote in the stove that the brush cleaned out of the chimney. I carefully scoop it up and put it in an ash bucket to be disposed of in the yard or garden.
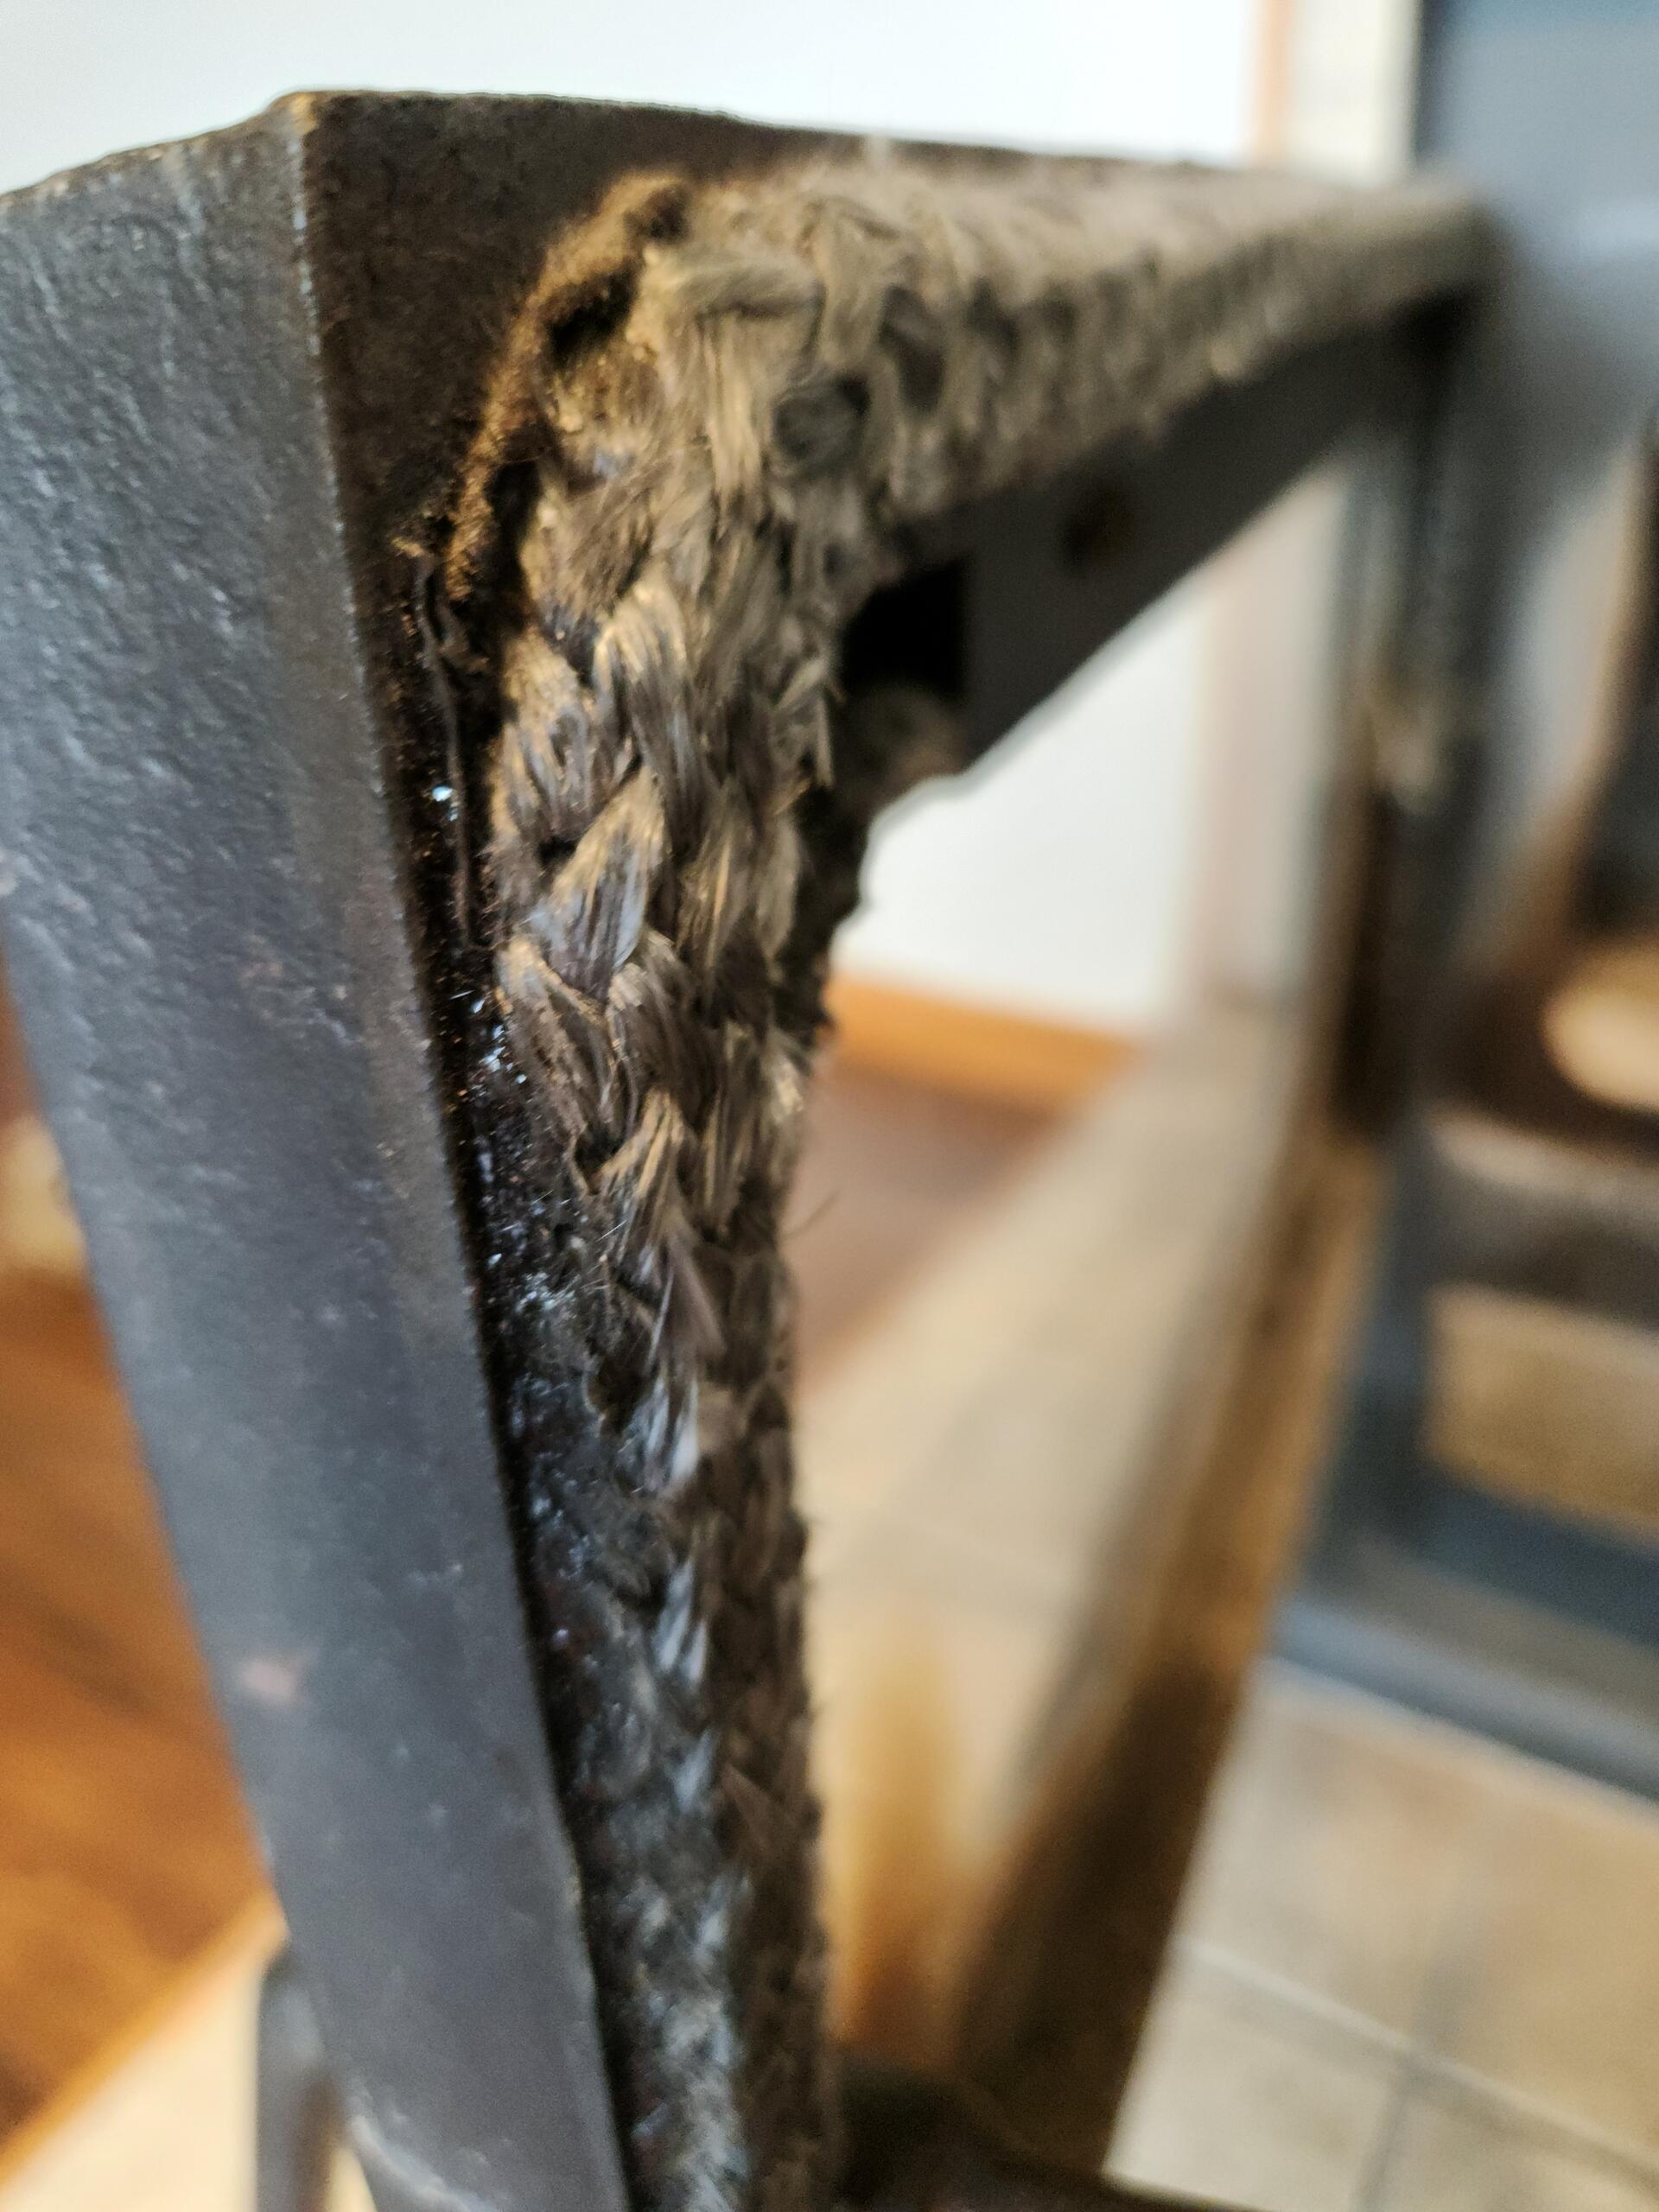 Door Gasket
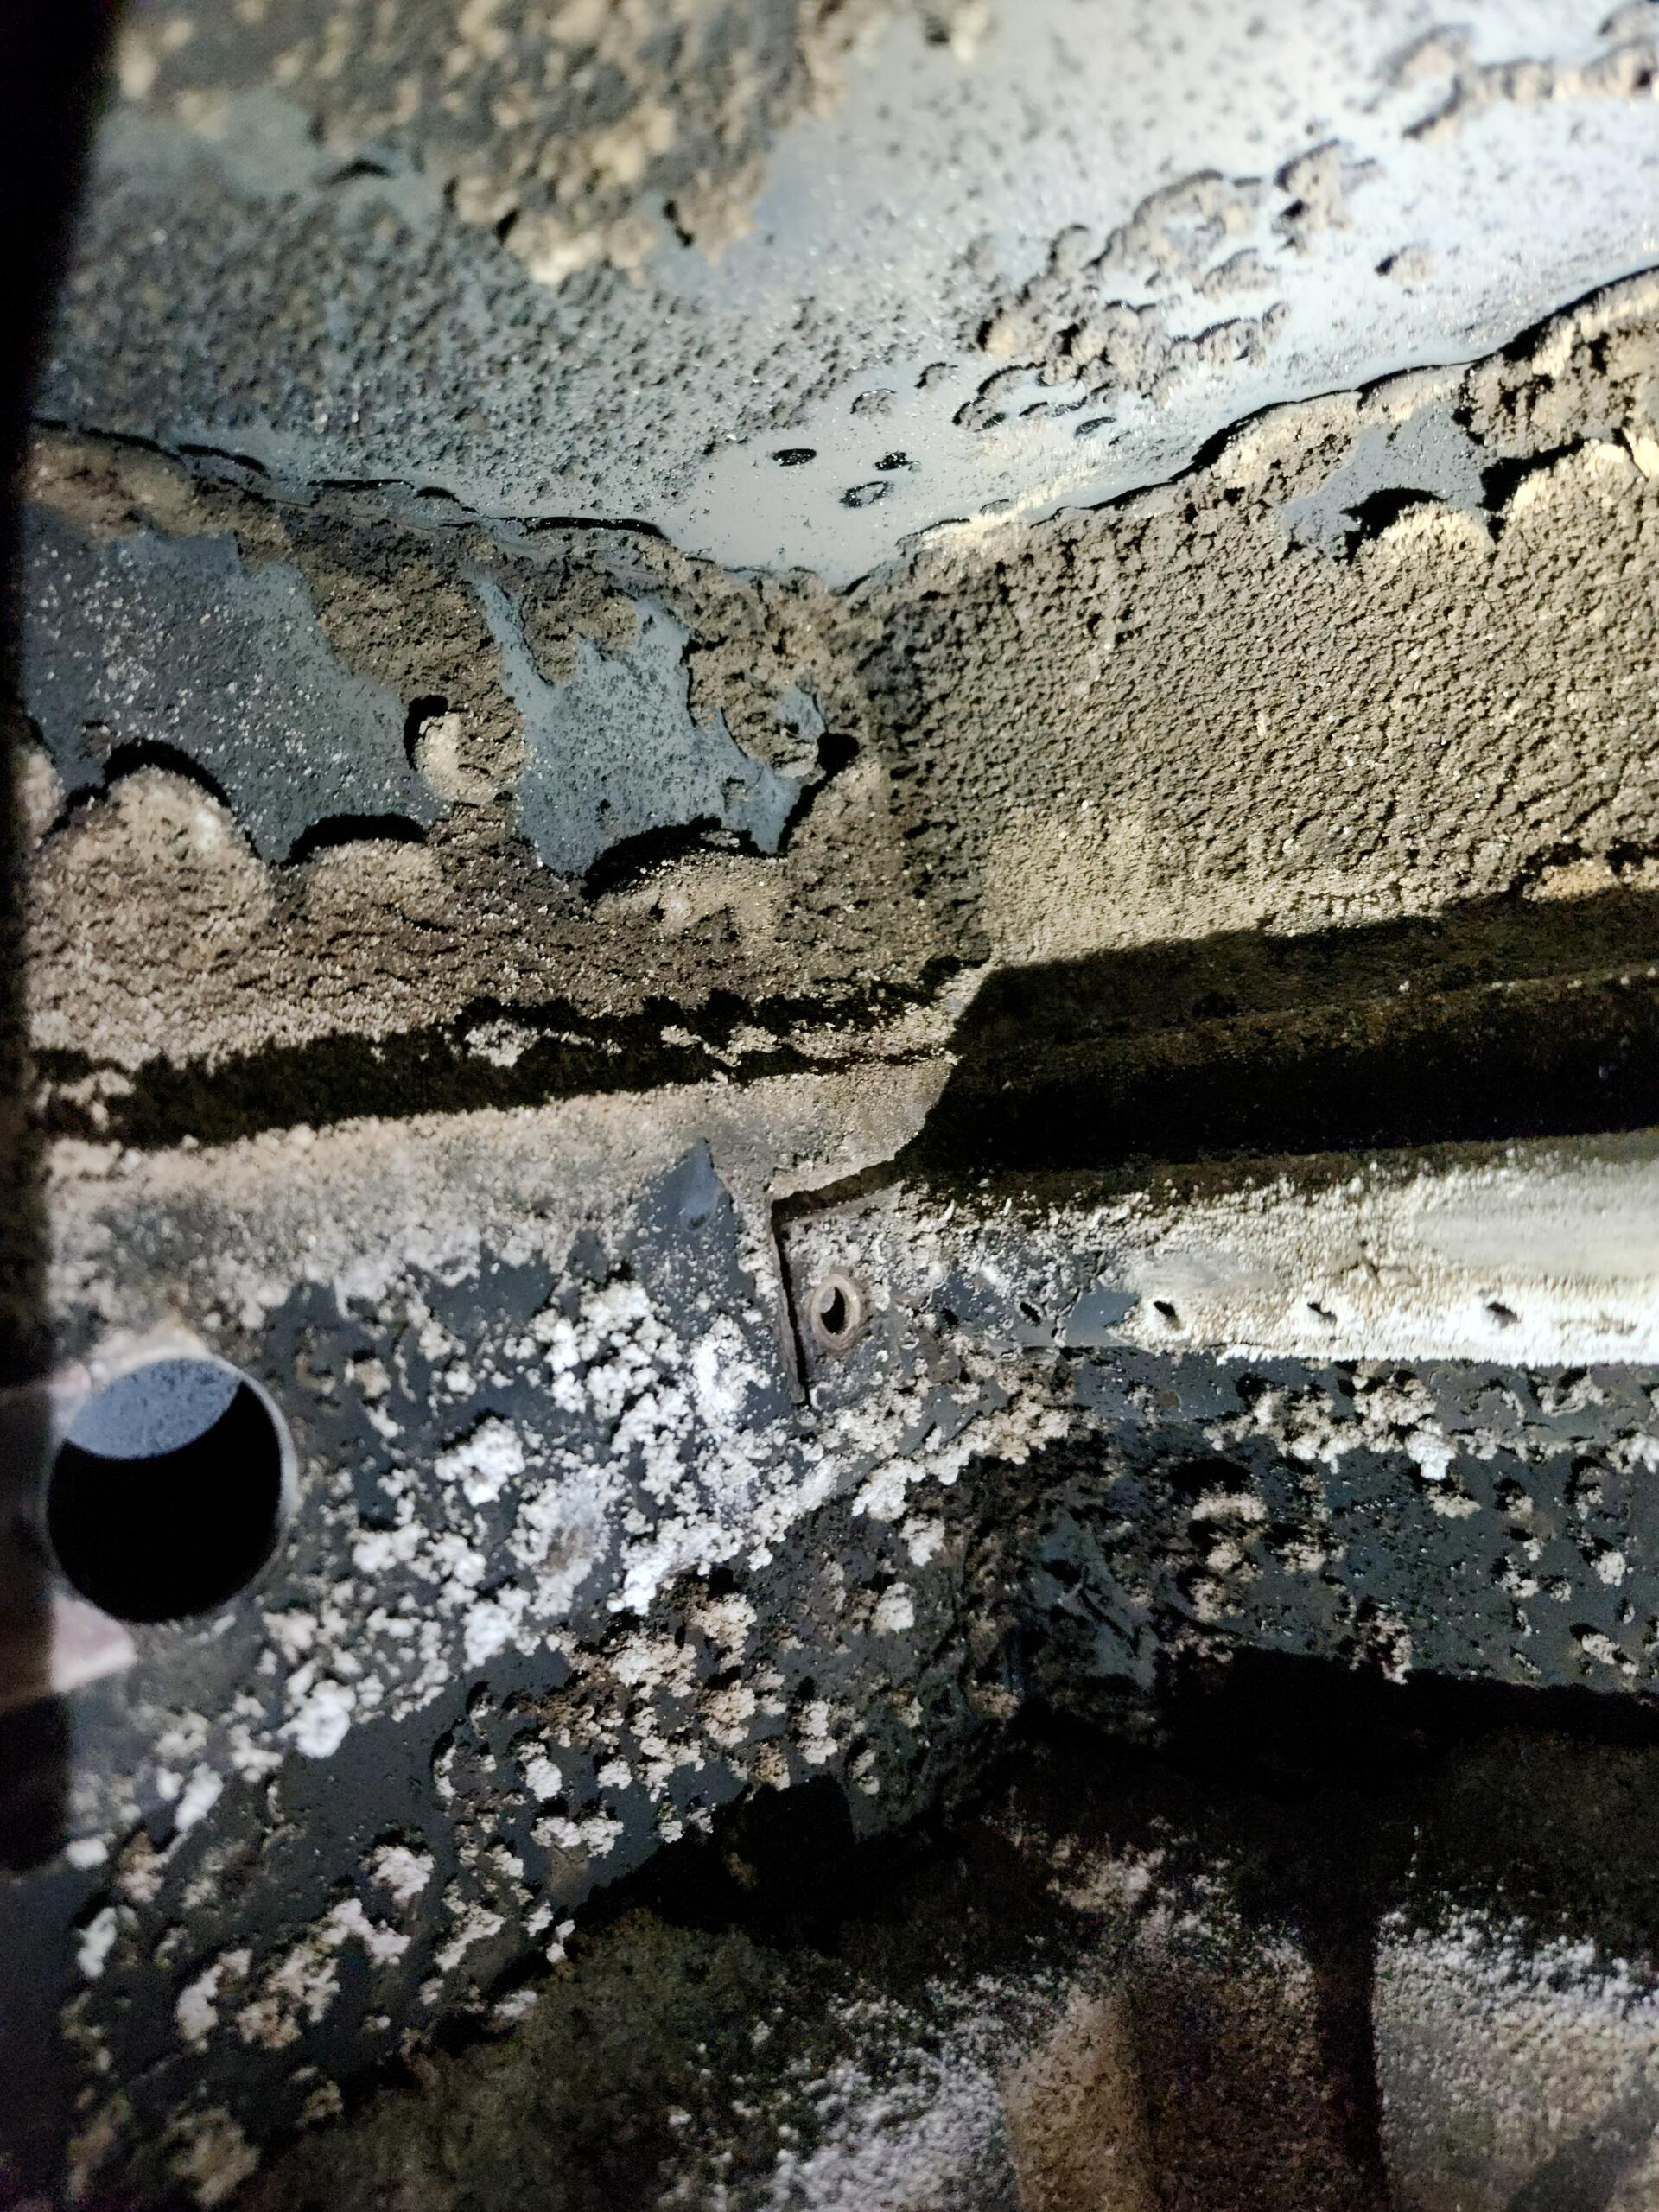 Build Up Inside Wood Stove
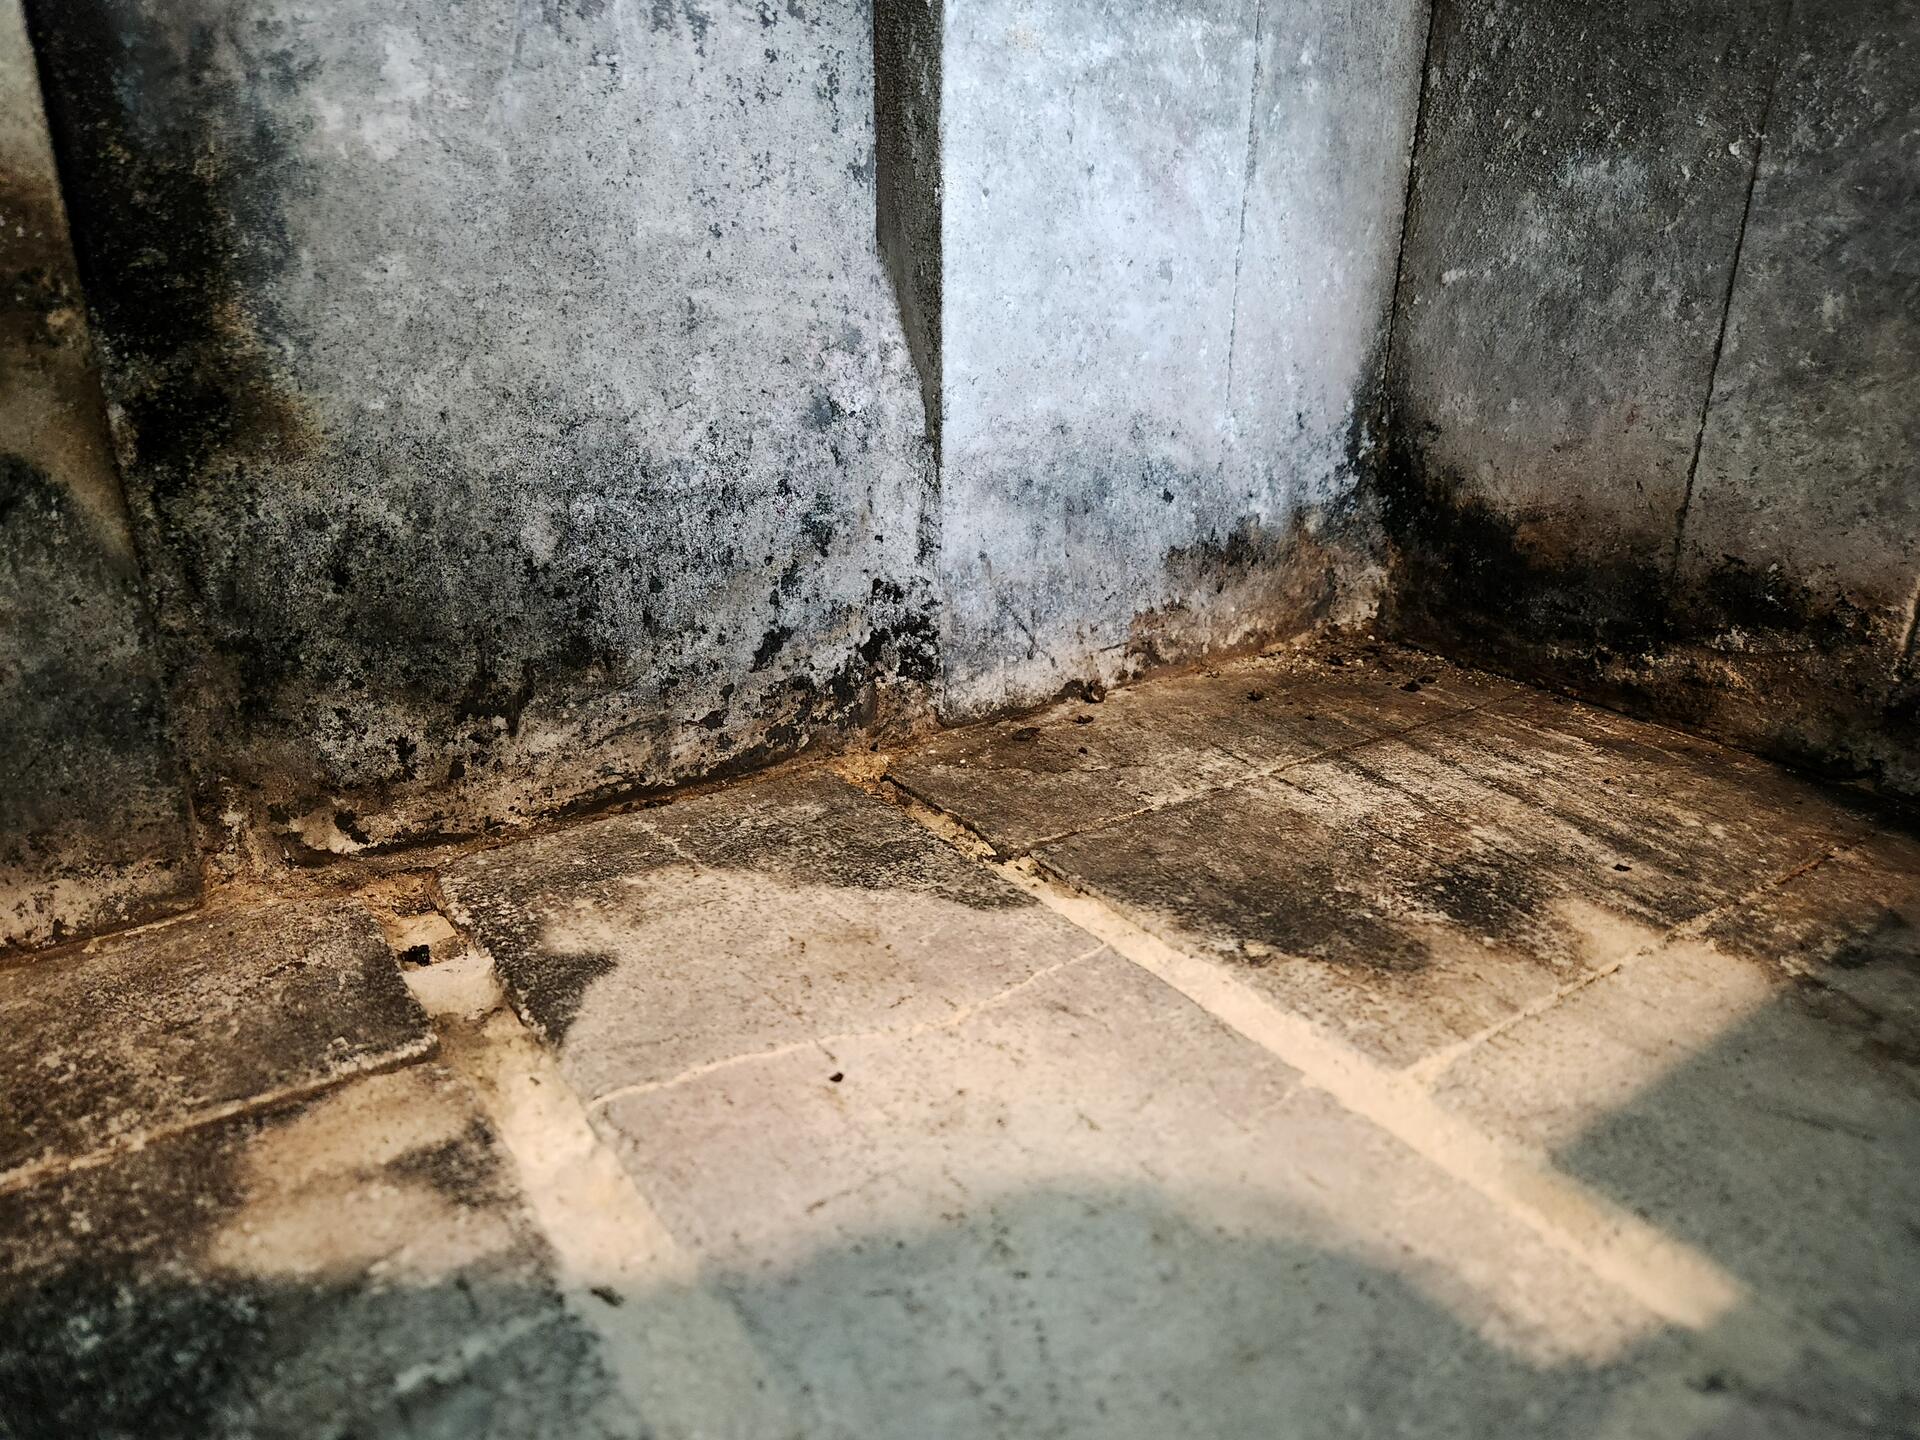 Wood Stove Floor and Firebrick
The last thing to clean up is the inside of the stove itself. I use a scraper to clean up any soot or creosote that is on the inside of the stove itself. Take some time and inspect the door and window gaskets on your wood stove as well. These gaskets last a long time but are too cheap and easy to not replace even if they appear only slightly worn. These gaskets prevent air from being drawn in by the fire and without them a fire cannot be controlled. I always replace my every couple of years to protect against a run away raging fire. Be mindful of what type of gasket your wood stove uses as they come in a variety of shapes and sizes. Inspect the fire bricks that line the inside of the stove too for any cracks or breaks. These bricks are also cheap to replace and protect the steel from direct contact with the fire and coals, prolonging the life of your wood stove. Gaskets and bricks can be bought from most farm supply, hardware store, or fireplace store. If your stove has a window in it, inspect it for cracks as well and replace if necessary. The last thing I do is use my Shop-Vac and clean out the stove but I leave the ash that has become packed in between the bricks.
Reinstall the fire board and air tubes when finished. And your wood stove is ready for the next winter! If you boil water on top of your stove now is a good time to clean any rust off and repaint it.
Happy Burning!
Note: The photos and process shown here are from my March 2025 cleaning (after the 2024-2025 burning season). I will be publishing an update later this year testing a rotary brush system.